
Lemon Drops Candy Recipe (With or Without Citric Acid)
This post may contain affiliate links. Please read the disclosure policy to learn more.
Thank you for supporting this blog!
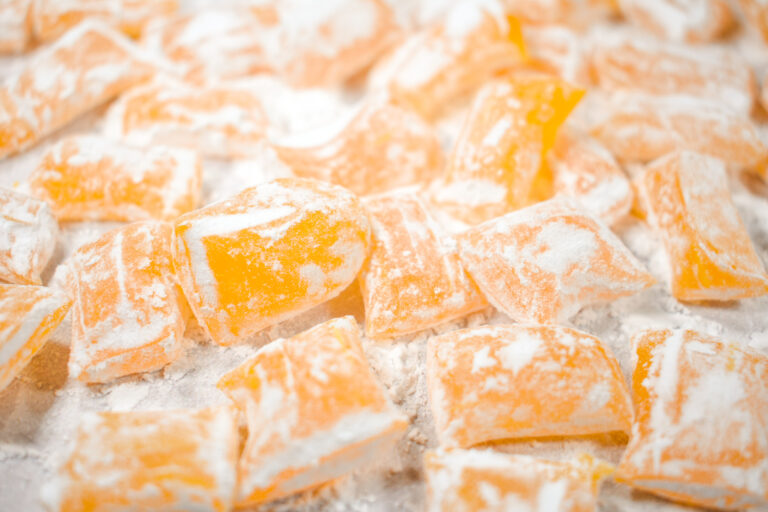
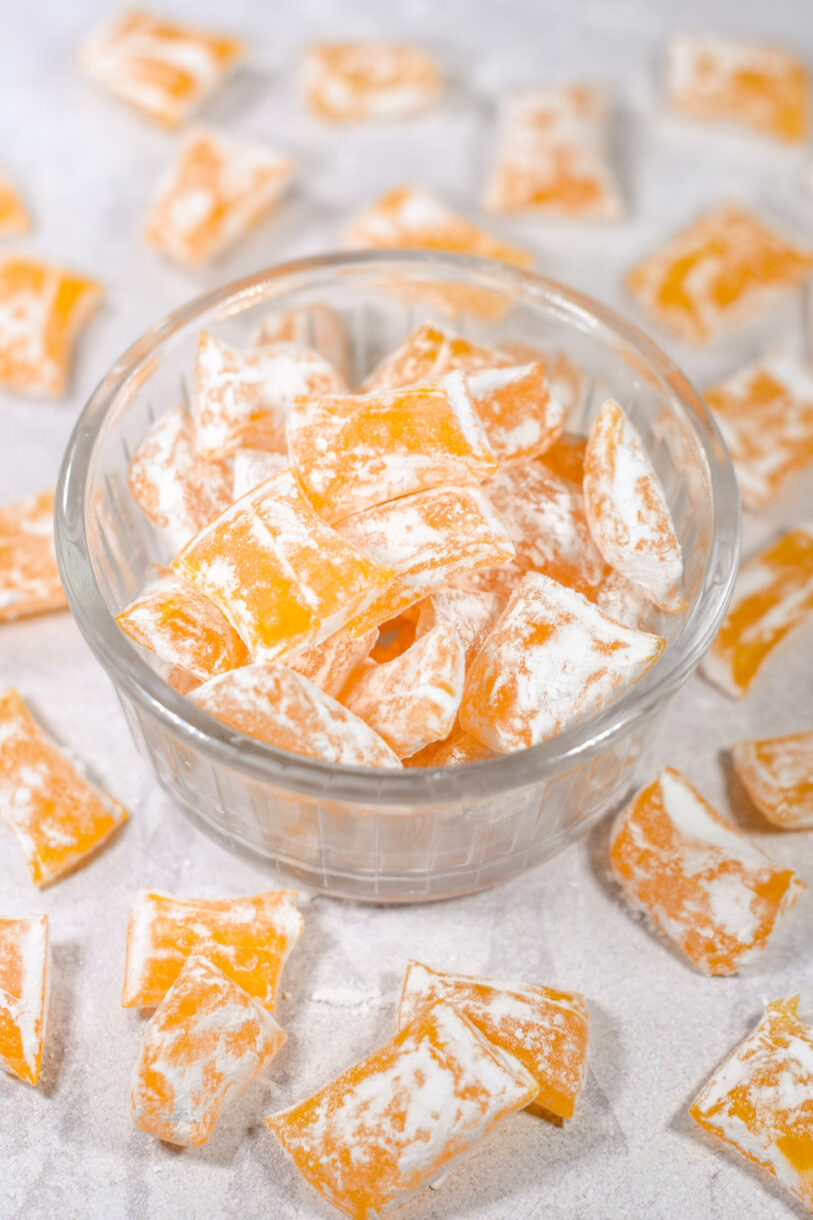
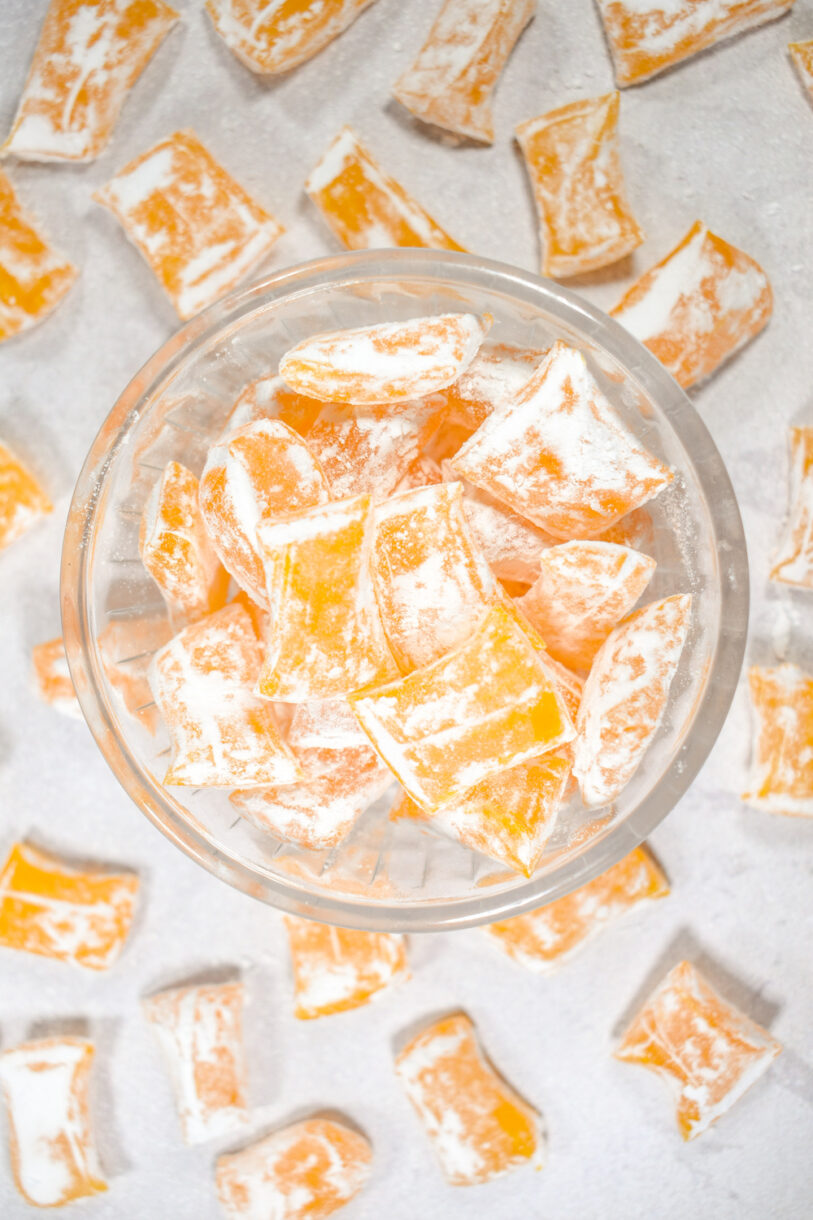
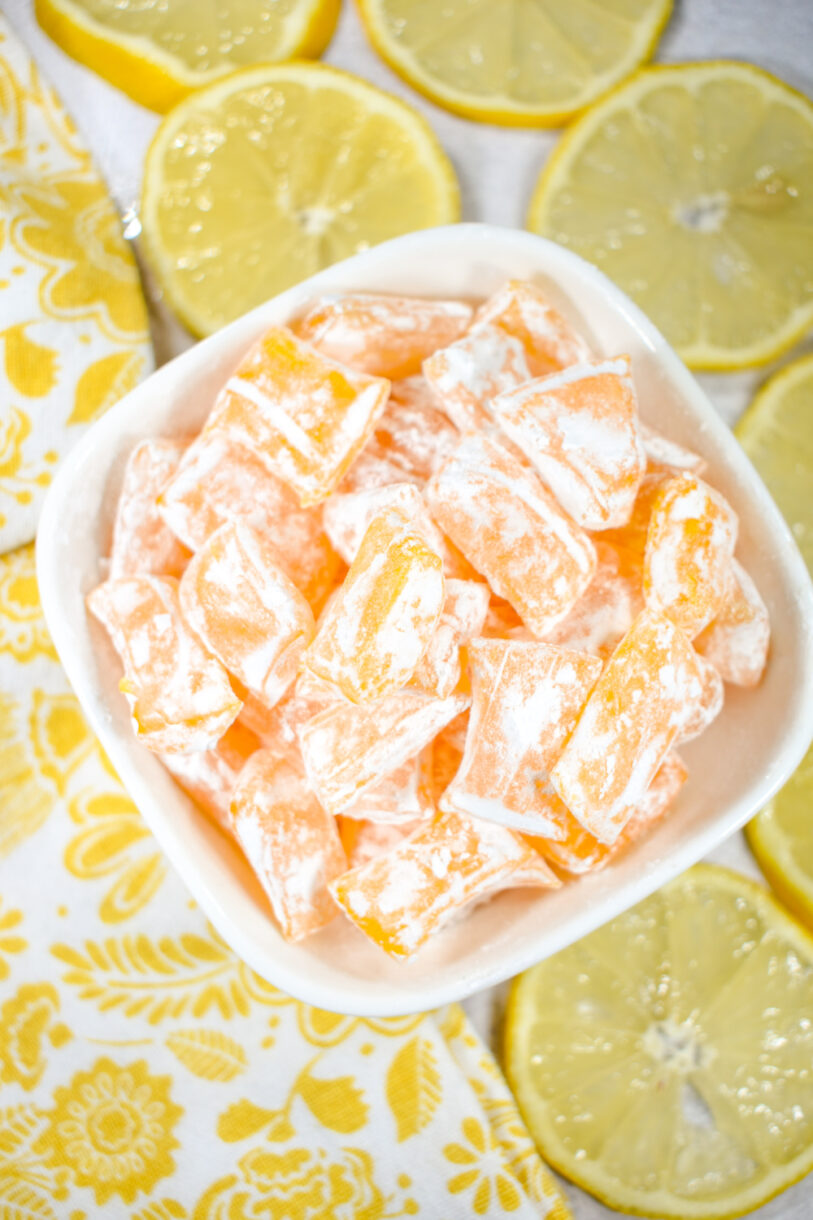
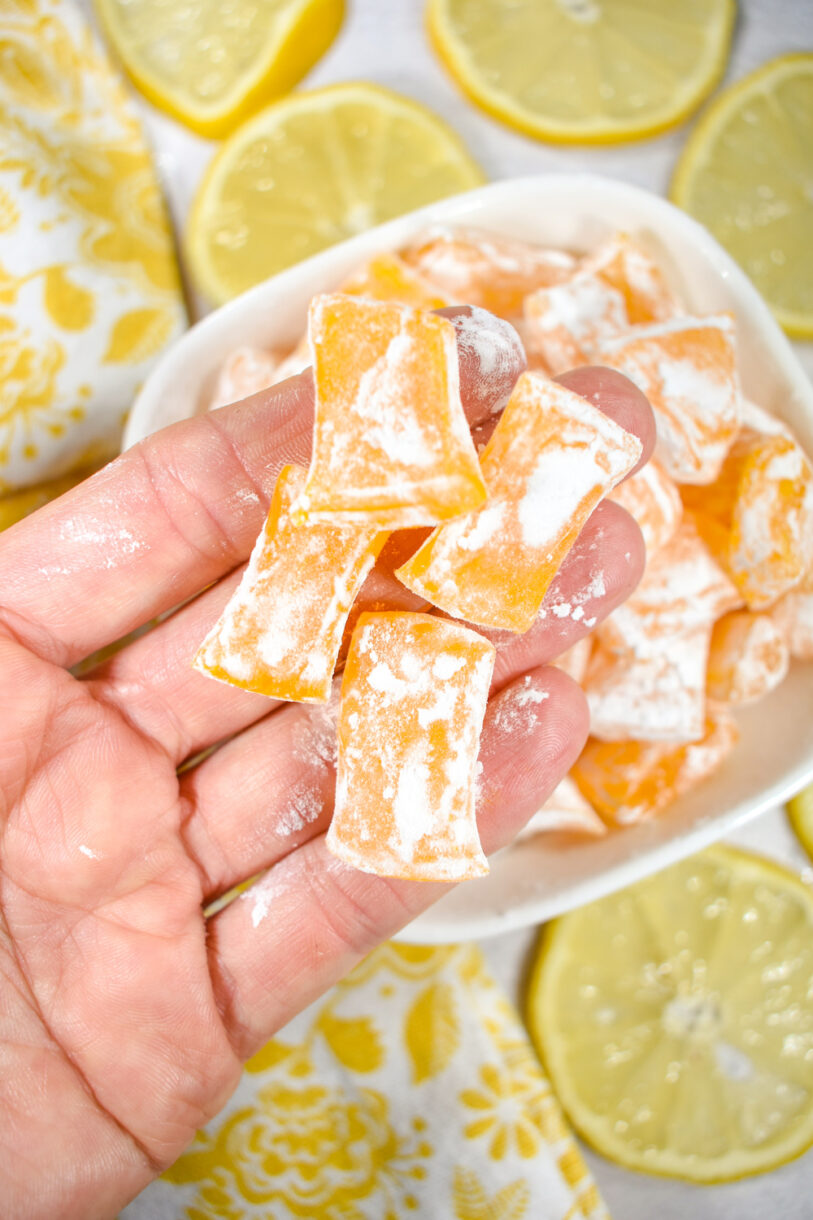
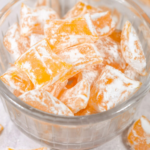
An old-fashioned lemon drops candy recipe, made with or without citric acid. Learn how to make lemon hard candy with this simple recipe, which is actually much easier than it looks. The trickiest part is pulling the sugar!
What Inspired This Lemon Drops Candy Recipe?
I originally created this old-fashioned lemon drops candy recipe way back in 2017, as part of a series of candy and confectionery recipes for National Candy Month. Lately it’s become quite popular on my Pinterest page, so I thought I’d give it a bit of a refresh. The recipe for these lemon drops is similar to my old-fashioned hard candy recipe. The only major difference is the omission of light corn syrup—this recipe employs a combination of granulated sugar and water instead.
Key Ingredients
- Granulated Sugar – Granulated sugar forms the base for the hard candy. You can also make the sugar syrup with another white sugar (such as superfine or caster) but you’ll need to measure the product by weight rather than volume.
- Lemon Oil – As with my old-fashioned hard candy, I flavored these sweets using Lorann Oils. Their natural lemon oil offers a fresh, vibrant lemon-y flavor, without tasting fake or bitter. Any brand of good-quality lemon oil will work for this recipe; just opt for a natural oil (rather than an extract. Also double-check that you’ve chosen a food-grade oil.
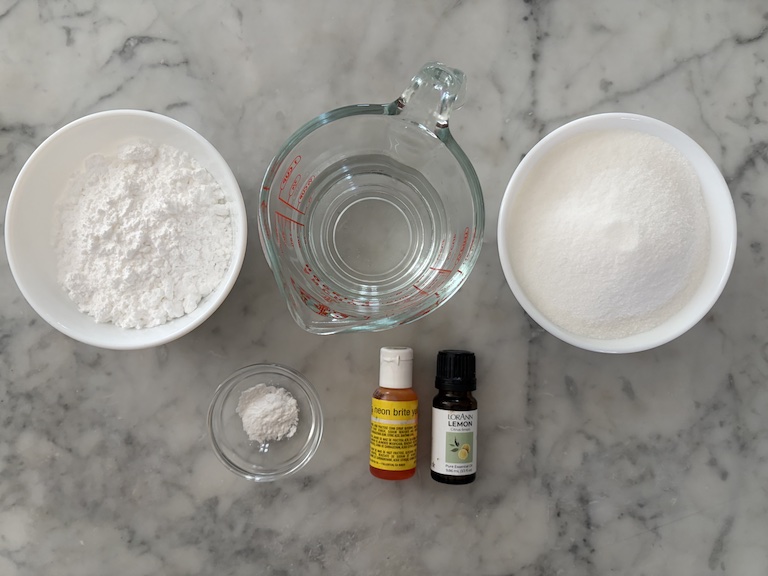
- Gel Food Coloring – Use gel food coloring to tint your sugar syrup, rather than water-based. With a good yellow gel, you’ll only need a few drops to color the whole batch. Water-based colors are much weaker, and you’ll end up using a lot of product to achieve a bright, vibrant shade of yellow. My go-to gel is the Chefmaster brand; in this recipe, I’ve used their Lemon Yellow (what else?!)
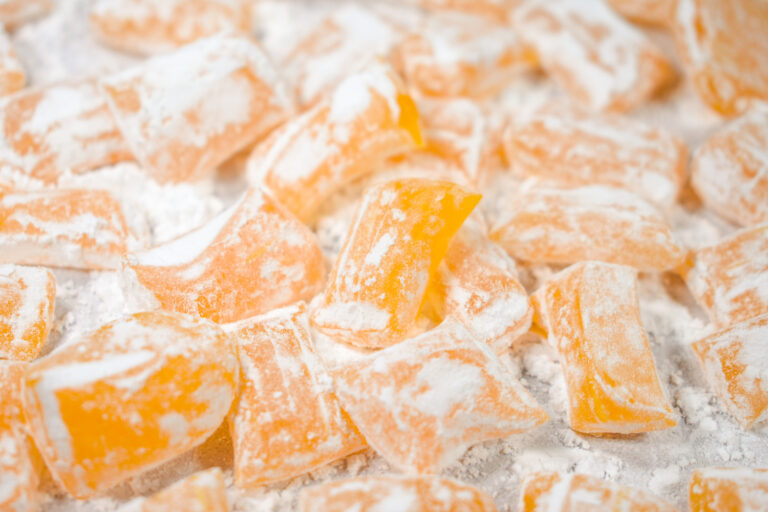
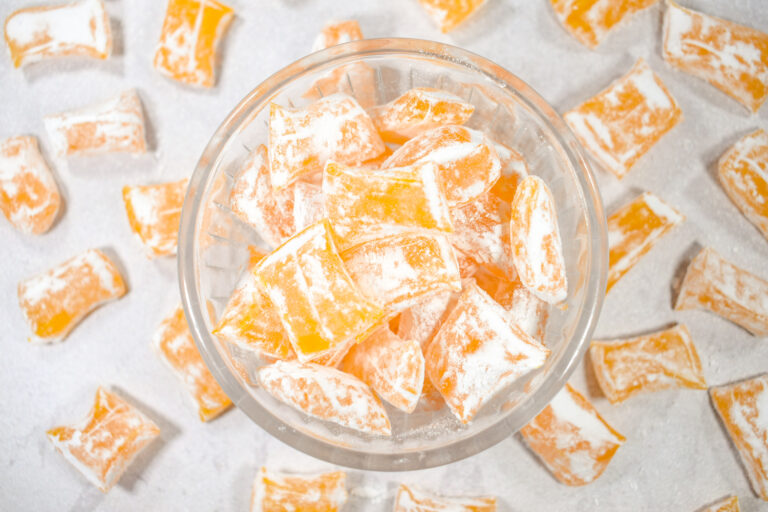
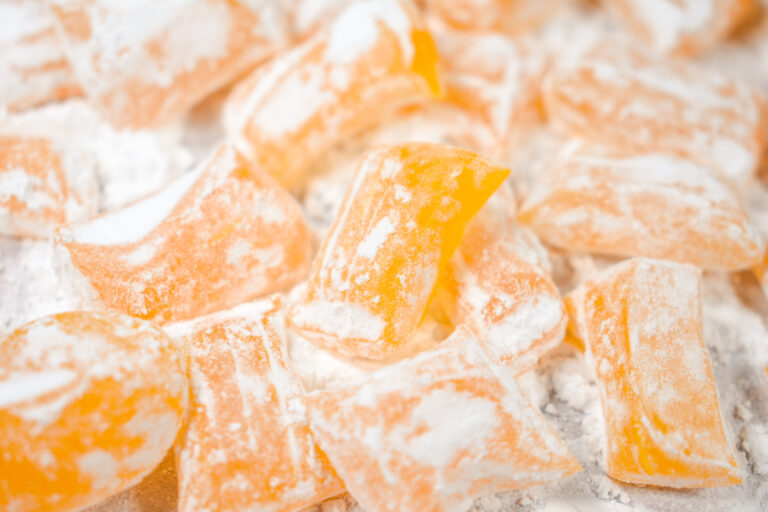
- Confectioner’s Sugar – I tossed my cut and cooled candies in confectioner’s sugar (icing sugar) for a sweet, powdery finish. If you don’t want to coat your candies in confectioner’s sugar, you can omit this step for a classic hard candy. Or, coat your candy in a mix of granulated and citric acid for an ultra-sour treat. If you have some confectioner’s sugar left over after finishing the coating step, feel free to reuse it for another batch of lemon drops. You can also use it for another recipe requiring powdered sugar, but keep in mind that it might have a slightly lemon-y taste.
- Cream of Tartar – I’ve added a small amount of cream of tartar to act as an agent to prevent crystallization.
Notes on Citric Acid
Citric acid is a natural product used for candy making, cocktails, and other “sour” foods, as well as for canning, freshening, and preserving. It also has a range of non-culinary uses, including laundry, cleaning, degreasing, softening hard water, and more. Adding citric acid to this lemon drop hard candy recipe will give your lemon drops a sour flavor, like Sour Patch Kids or Warheads. If preferred, you can make this lemon drop candy recipe without citric acid. I’m not a huge fan of sour candies, so I don’t always add citric acid to my lemon drops. You can definitely make this lemon drop candy recipe without citric acid, or add it if you prefer a sour, tangy lemon candy.
In this recipe, I’ve indicated 1 teaspoon of citric acid. This gives the lemon hard candy a mild/moderate sour taste, but it isn’t “make your lips pucker” levels of sour. If you want a very sour candy, try upping the citric acid to 2 or 3 teaspoons, as desired. And for an even more extreme sour taste, you can also add a spoonful of citric acid to your sugar coating.
Tips and Tricks
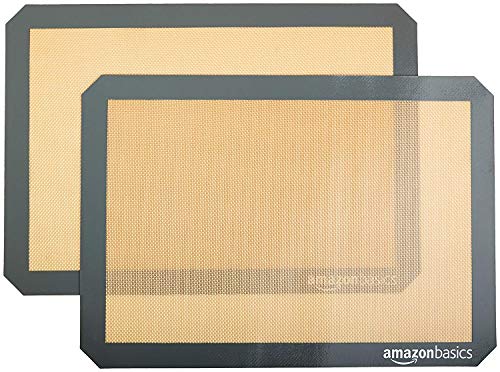
- Work on a silicone mat. I definitely recommend purchasing a silicone baking mat you don’t already own one. These come in handy for candymaking, sugarwork, chocolate, cookies, and other kitchen projects. (I own them in multiple sizes, so I have a mat to fit whichever size tray I’m using!) Silicone baking mats (sometimes called silpats) perform well at high temperatures, make cleanup easy, and prevent just about anything from sticking to your trays or countertops.
- Use a digital thermometer. My go-to is this Taylor Instant Read Digital Thermometer. (I love that it has a little clip; I’ll usually keep it clipped to the front of my apron, or in the pocket of my chef’s jacket, as I’m working!) When making hard candy, your sugar temperatures need to be precise (otherwise, you risk ending up with taffy, or caramel!) I do not suggest attempting this recipe without a thermometer.
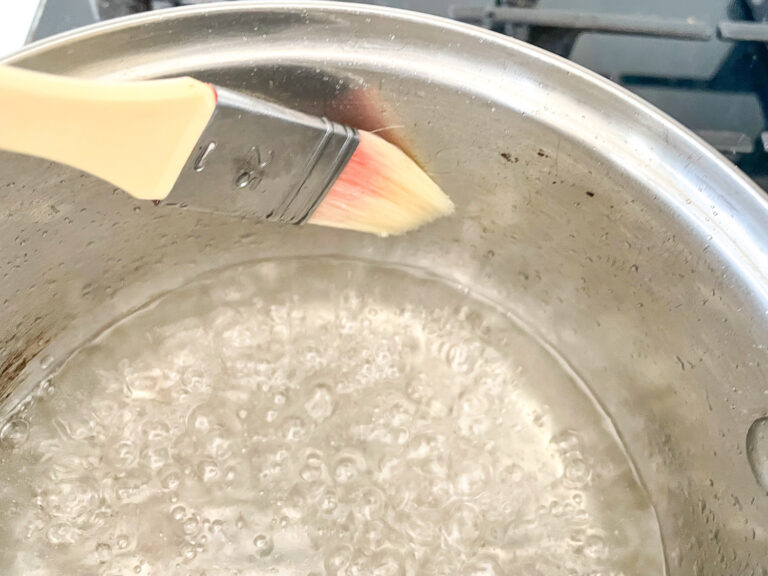
- Brush down the pan. While cooking the sugar, keep a small bowl of water and a pastry brush nearby, to brush down the sides of the pan periodically. This helps to prevent crystallization.
- Cut with kitchen shears. Use kitchen shears to cut your sugar rope into individual candies. I don’t recommend doing this with a knife—you should never cut directly on a silicone mat, or the fibers can contaminate your finished candy. And kitchen shears just allow you to work much more quickly than slicing the sugar rope with a knife.
- Toss in more sugar as necessary. When storing your candy, you might notice that it starts to become sticky or that the pieces stick together, especially if you live in a humid climate. When storing, you may need to periodically toss the candy in additional sugar to prevent it from sticking.
- Make a test batch. The sugar must be cool enough to pull and shape (if it’s too hot, it will immediately revert to a puddle) but hot enough that it’s still easily pliable. If you haven’t worked with pulled sugar before, there is a bit of a learning curve. I’d suggest making a batch with just sugar and water (no flavoring or coloring) to get the feel for working with hot sugar.
- Reheat as required. If your sugar becomes too cold, place the ball on a silicone mat and microwave it for 10-15 seconds, or until just warm enough to pull.
Handling Hot Sugar
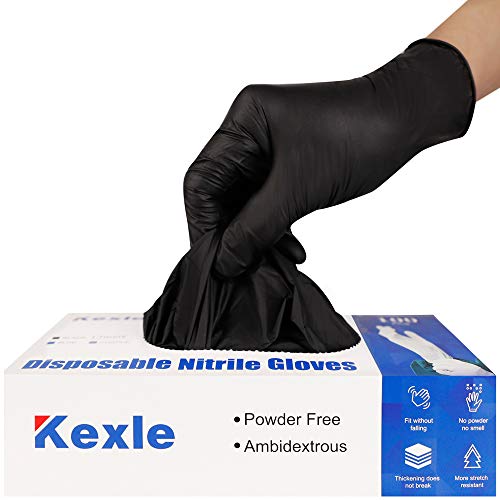
For sugarwork, most chefs will wear a pair of soft cotton gloves, with 1-2 pairs of rubber gloves layered over top, like this:
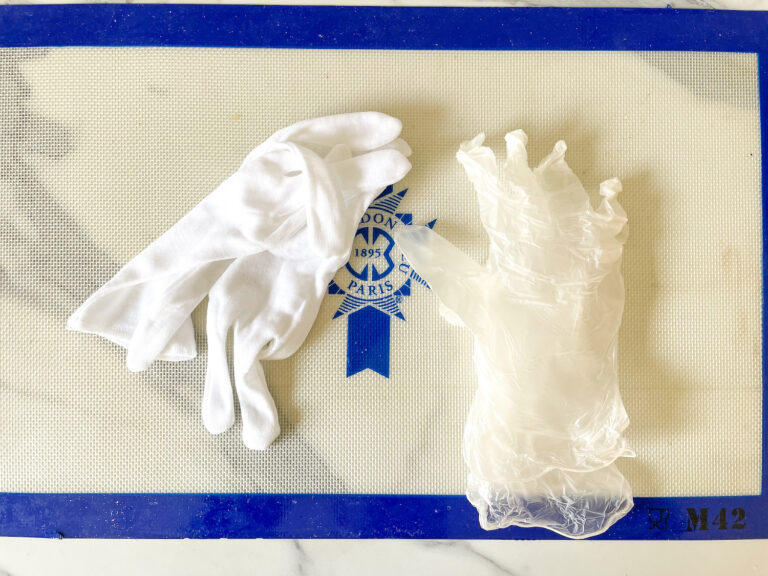
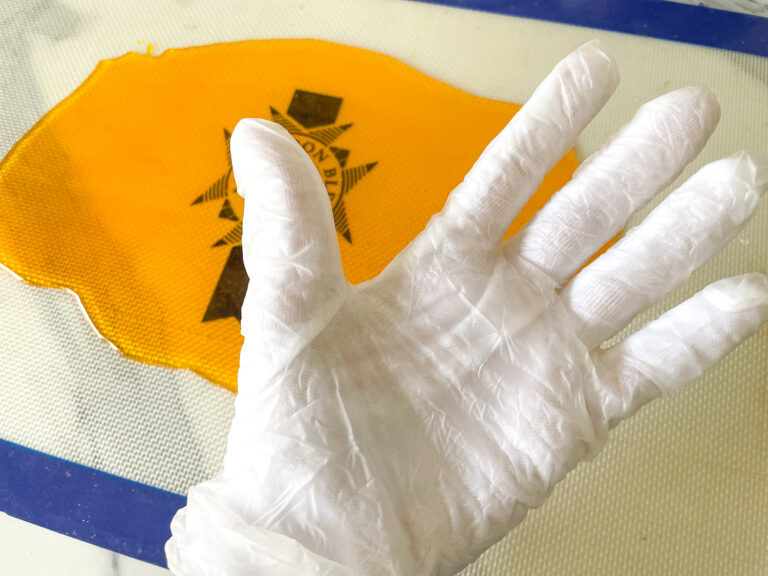
The cotton will protect your hands from the heat of the molten sugar, while the rubber gloves will prevent your hands from sticking to the candy as you work. If you don’t have cotton and rubber gloves, I suggest picking up a pair of each before attempting this recipe. Both are easily purchased from Amazon, or at a big box store. (Look for white cotton gloves in the beauty section.) If you can’t find white cotton gloves at a big box store, a Halloween store will definitely sell them.
Lemon Drops Hard Candy
- Total Time45 minutes
- Yield60 3/4-inch lemon drop candies 1x
A homemade lemon drops candy recipe, made with or without citric acid.
Ingredients
Nonstick spray, for coating scissors
200 grams granulated sugar (1 cup)
120 milliliters water (1/2 cup)
1 teaspoon natural lemon oil
1/4 teaspoon cream of tartar
2-3 drops yellow gel food coloring, or as desired
1 teaspoon citric acid (optional)
70 grams confectioner’s sugar (1/2 cup), in a large bowl
Instructions
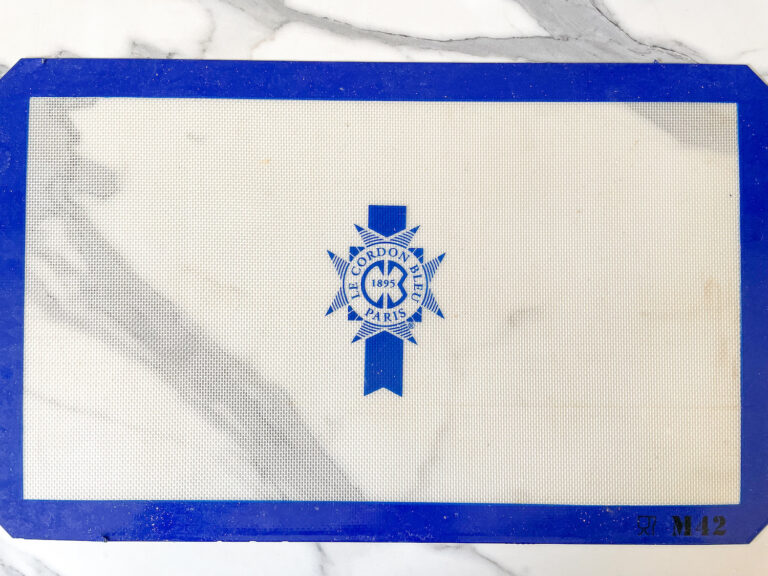
Cover countertop or work surface with a silicone baking mat.
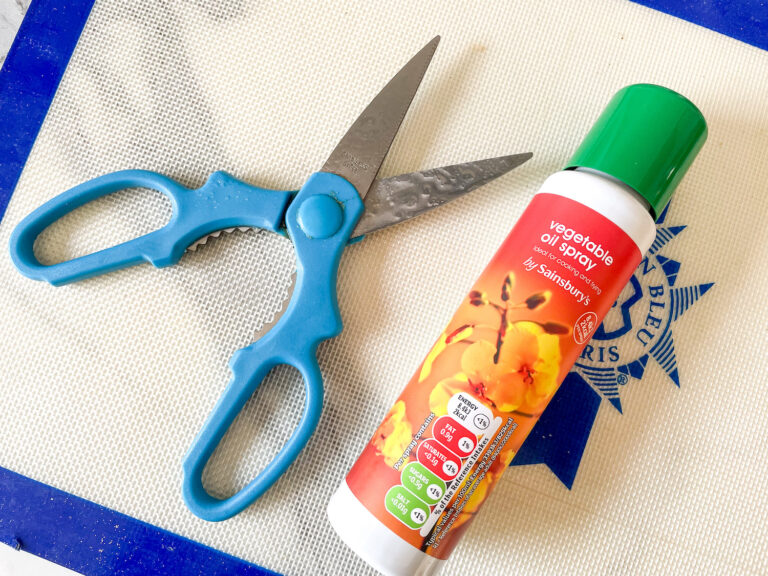
Spray kitchen shears with nonstick spray. Set aside.
In a medium saucepan, combine granulated sugar, water, and cream of tartar. Cook over medium heat, stirring occasionally until the sugar dissolves.
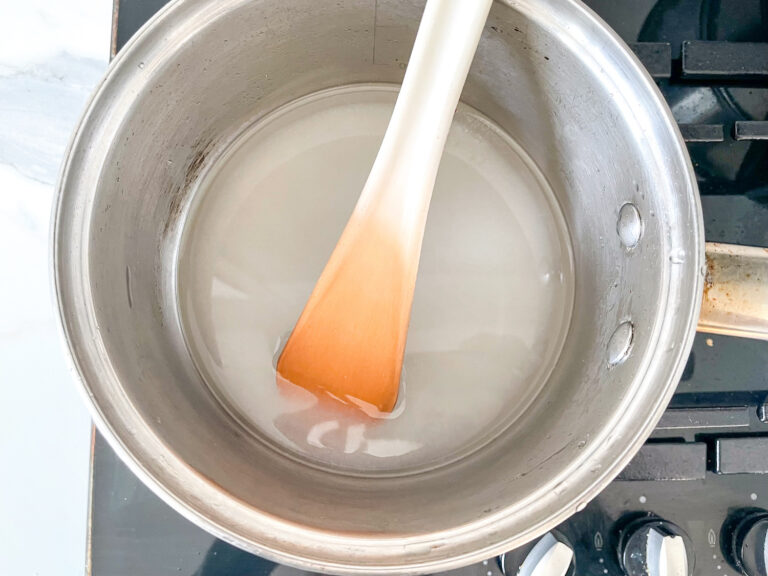
Once sugar dissolves, stop stirring* and add a candy thermometer to monitor the temperature (or keep a hand-held digital thermometer nearby!)
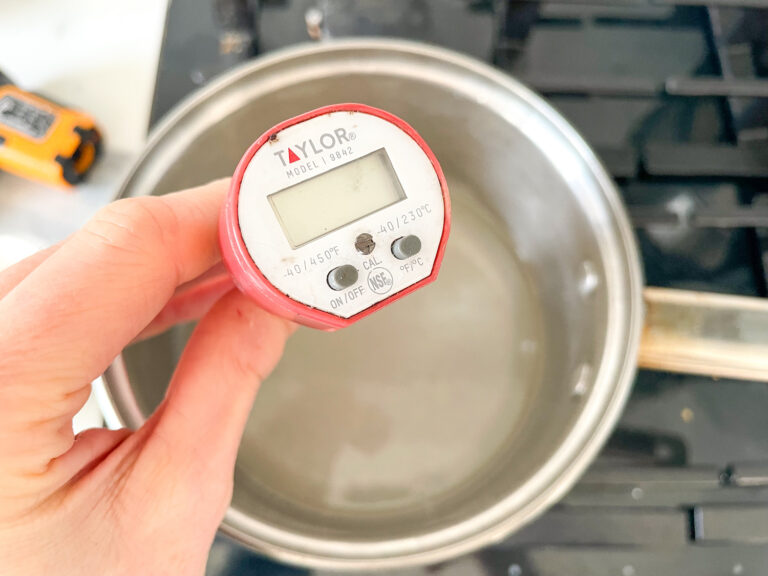
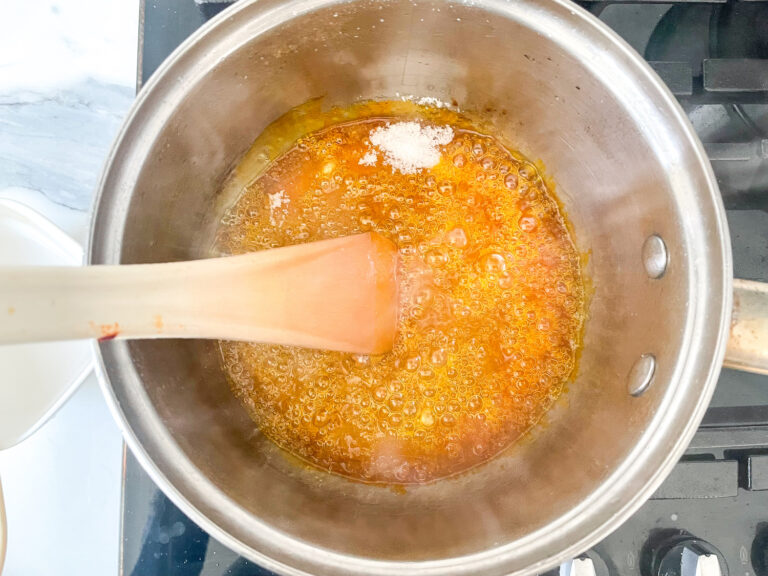
Continue cooking, periodically brushing down sides of pan with a wet pastry brush, until syrup reaches 300° F (149° C) on a candy thermometer, about 15 minutes.
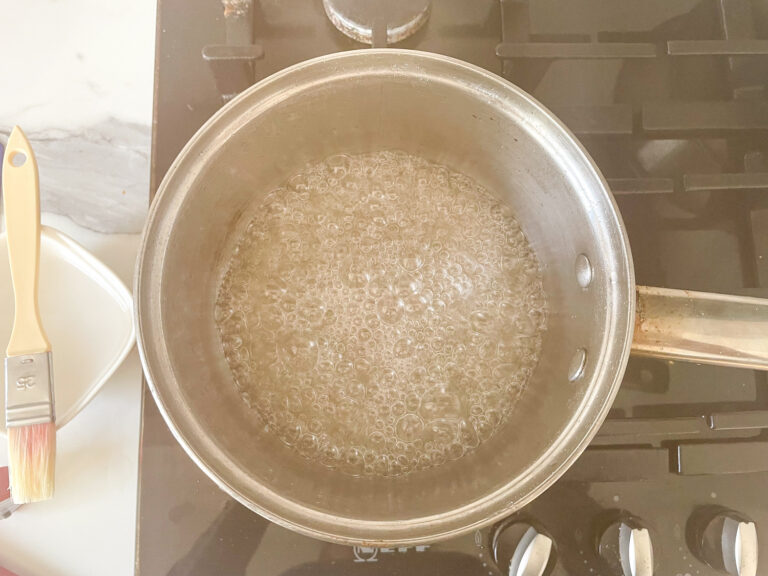
Remove from heat. Stir in lemon oil, yellow food coloring, and citric acid if using.
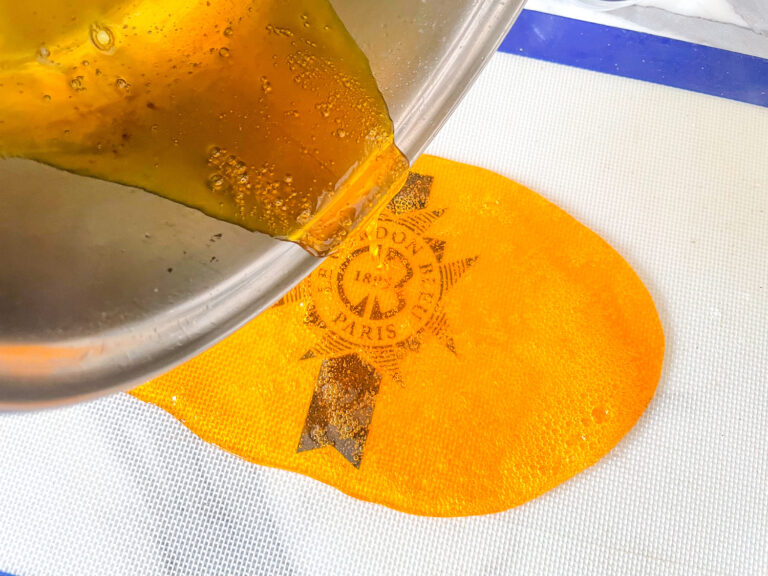
Pour hot sugar syrup onto prepared silicone mat. Put on cotton gloves, then add rubber gloves over top.**
Allow sugar syrup to rest on the mat, periodically folding the mat over itself. As you do this, you’ll start to see the sugar sticking to itself and forming a mass, rather than immediately running back into a puddle.
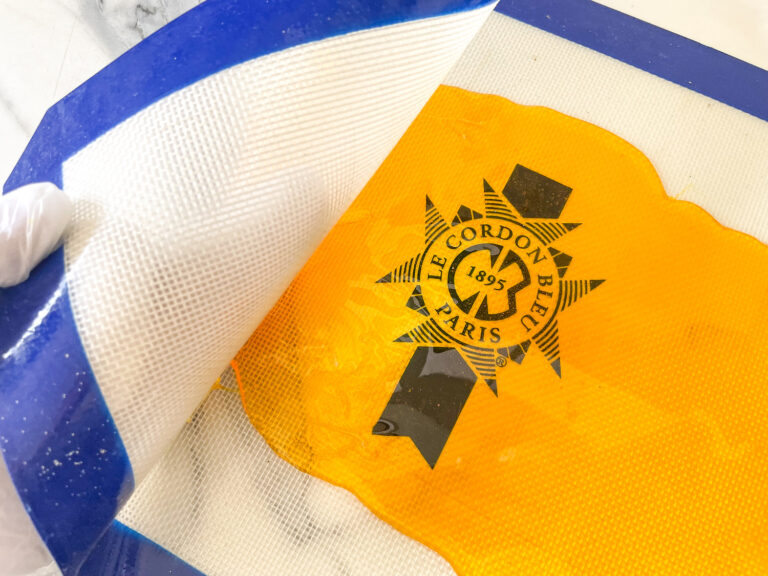
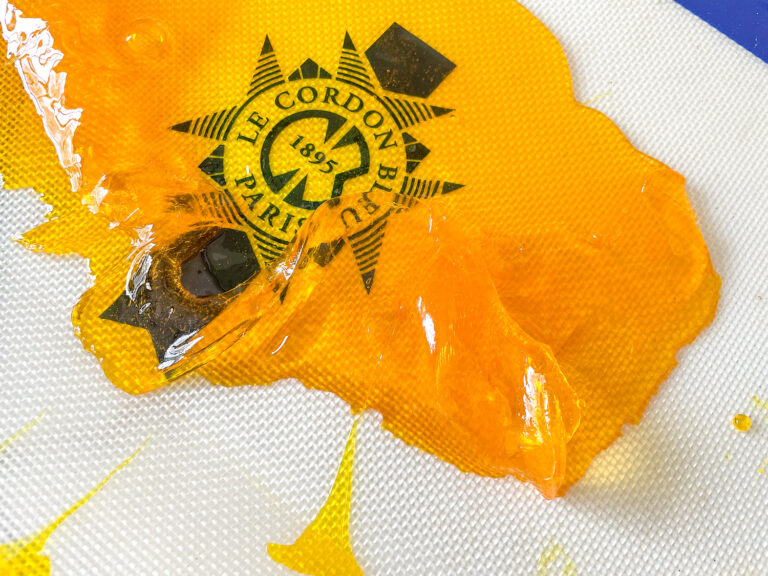
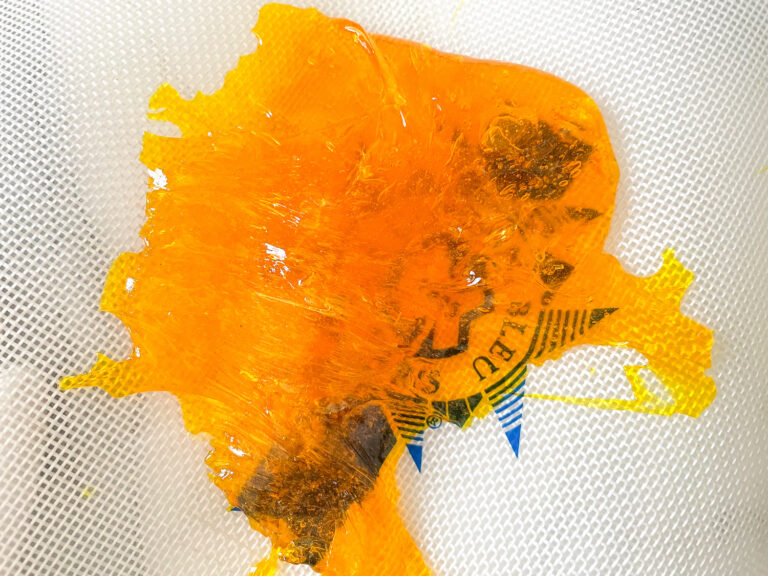
You’ll know the sugar is ready to pull when it comes together into a ball, and does not lose its shape. It will still be hot and easily pliable, but no longer “gooey” or runny.
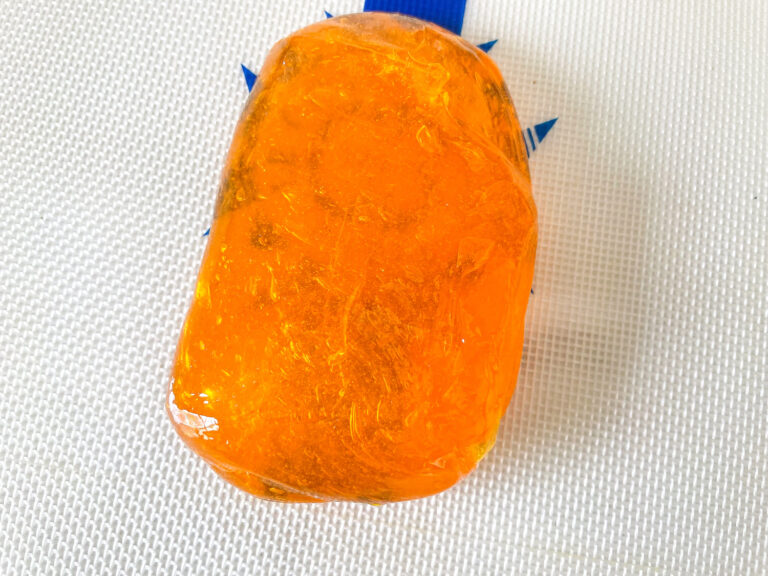
With gloved hands, fold the sugar over itself several times (it will start to feel thicker and slightly less pliable, and you’ll see fine white streaks in the sugar). Do this 4-5 times, then pull it into a short, thick tube. For more opaque hard candy, continue pulling a few minutes longer.
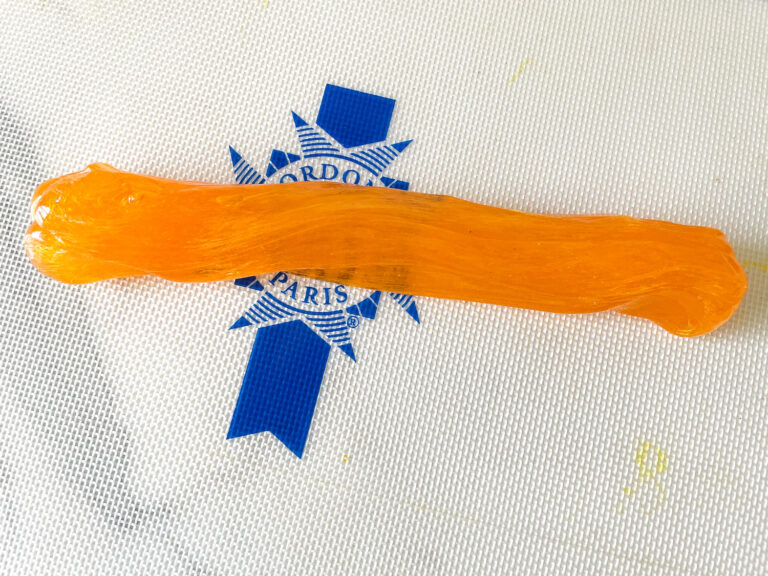
With your hands, pull a section of the tube into a long rope, about 1/2-inch in diameter. Use kitchen shears to cut the rope into 3/4-inch pieces.***
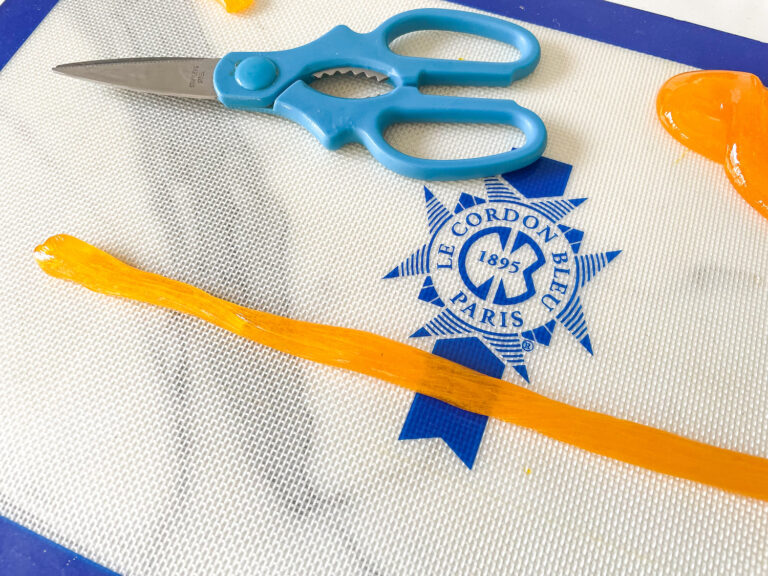
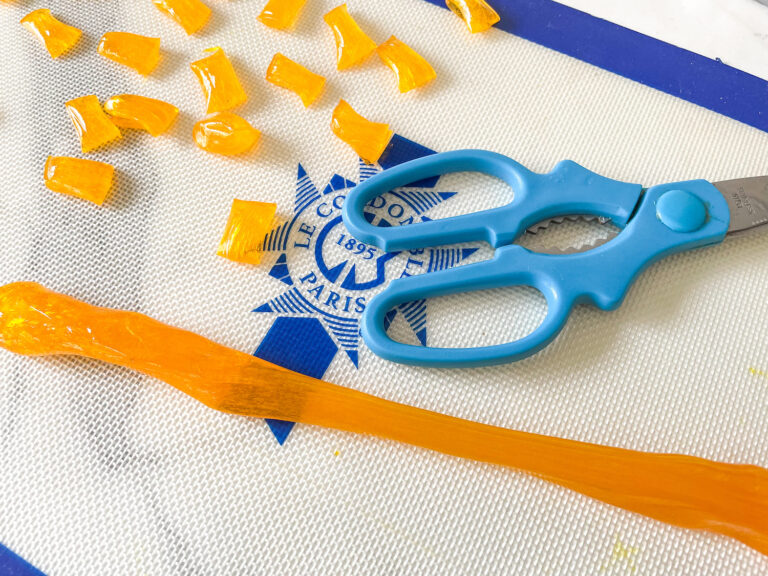
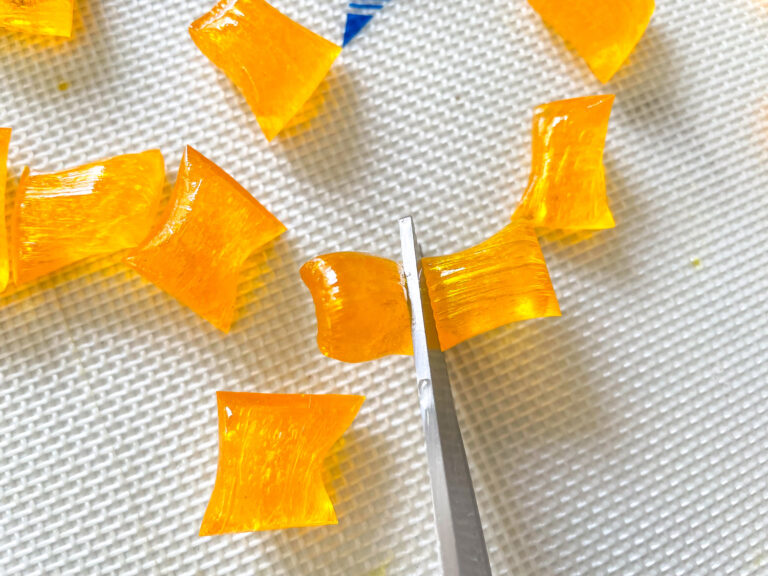
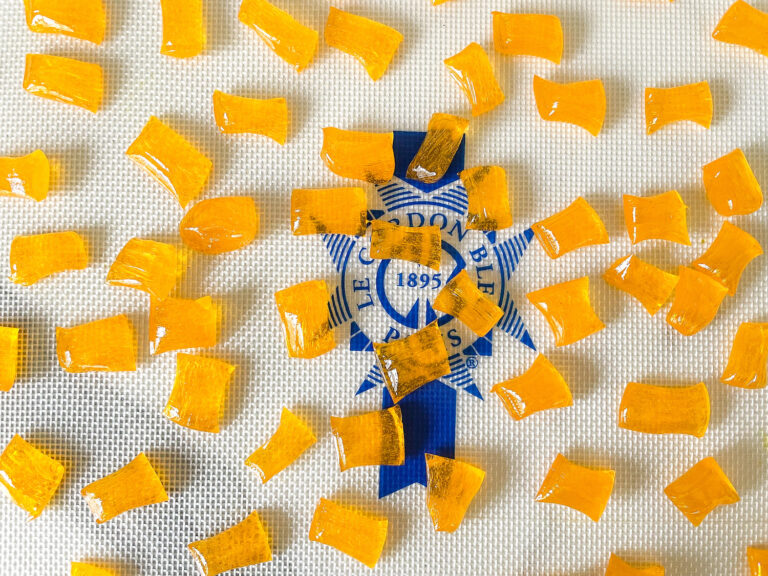
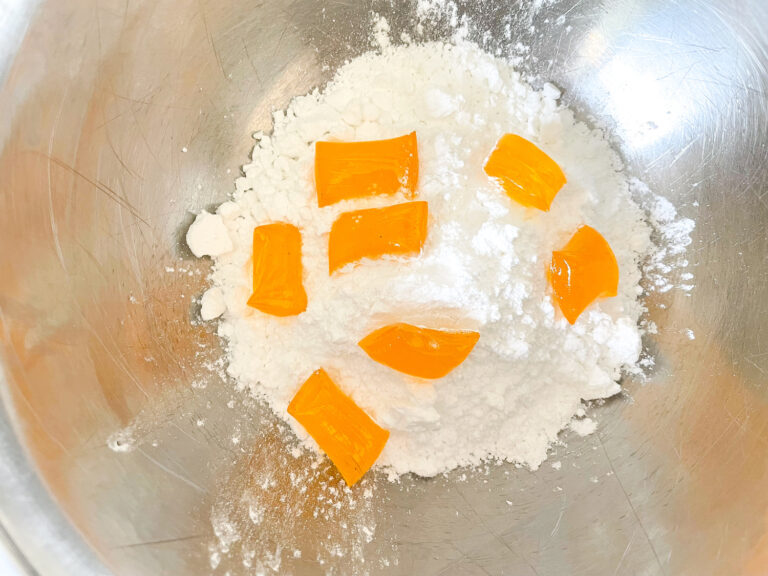
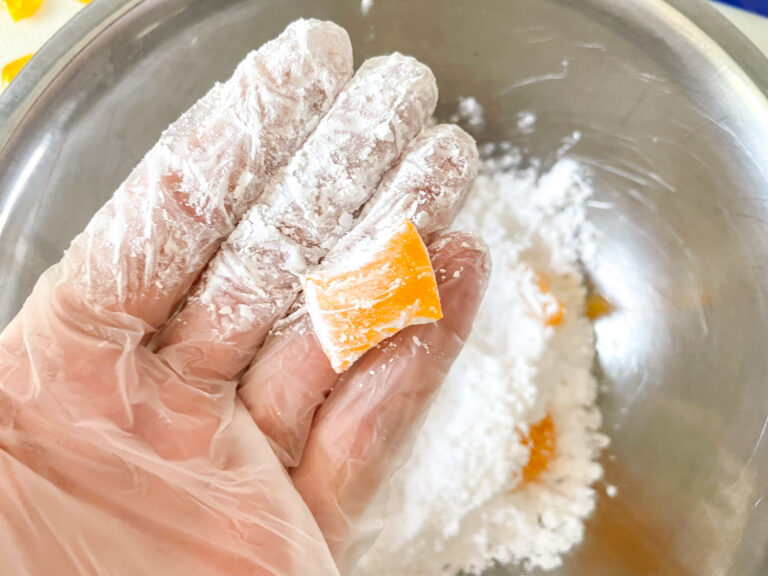
Add lemon drop candy pieces to the bowl confectioner’s sugar, and toss to coat.
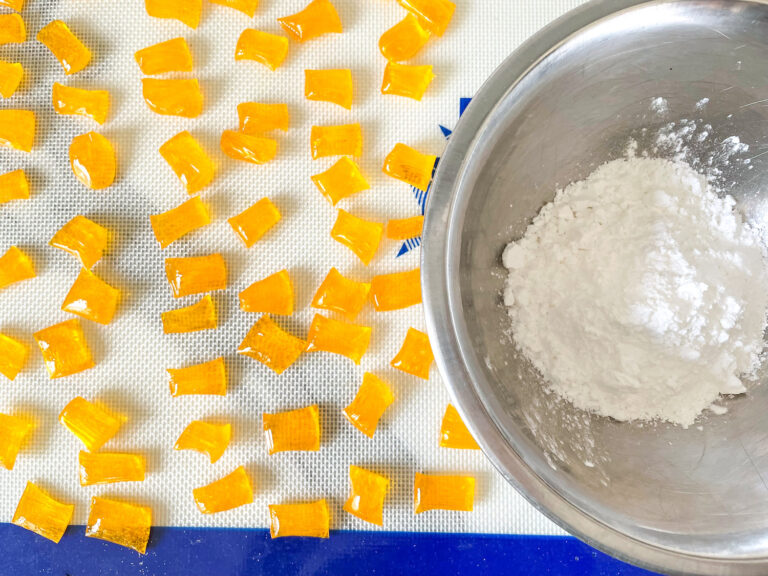
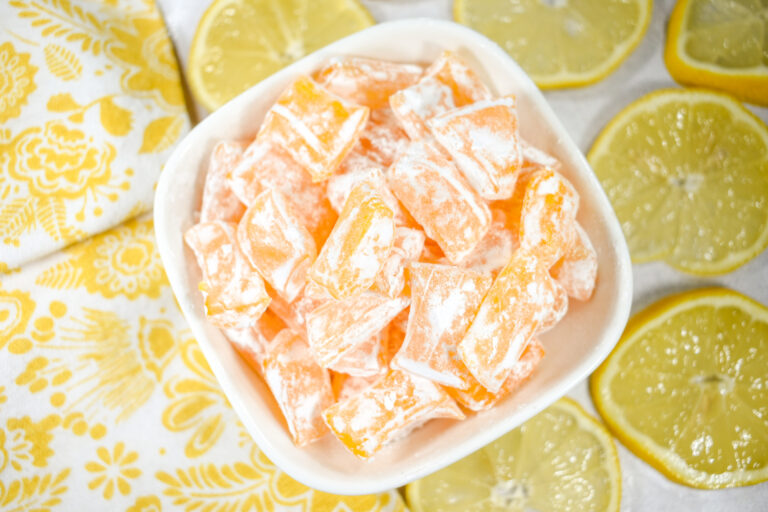
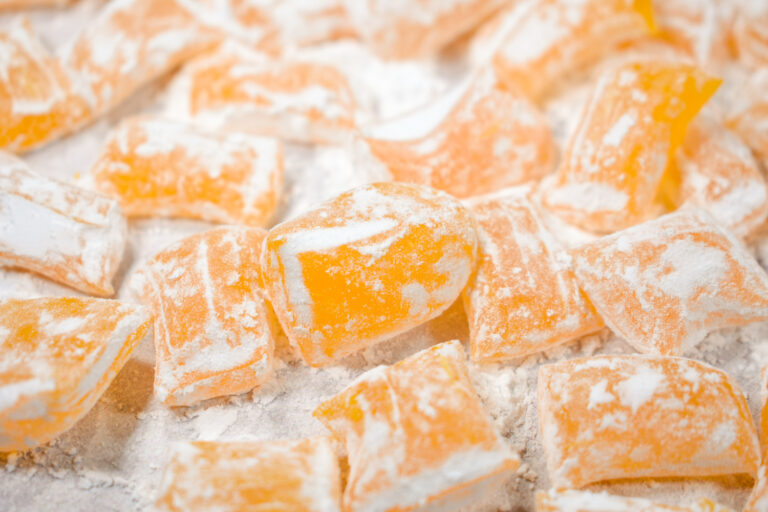
Store lemon drop candy in an airtight container at room temperature for up to 6 weeks.



Notes
*Do not stir the sugar while it cooks, or crystallization may occur.
**See post above for more about gloves, and other tips for handling hot sugar.
***Work in small sections rather than pulling all of the sugar at once. Otherwise, the sugar will cool and become difficult to cut (or might even shatter when you try to cut it!) Pull the ropes in 12-inch increments, and keep the remaining sugar in a large mass/tube until ready to pull.
- Prep Time: 30 minutes
- Cook Time: 15 minutes
- Category: Candy and Confectionery
- Method: Stovetop
Gifting Homemade Lemon Drop Candy
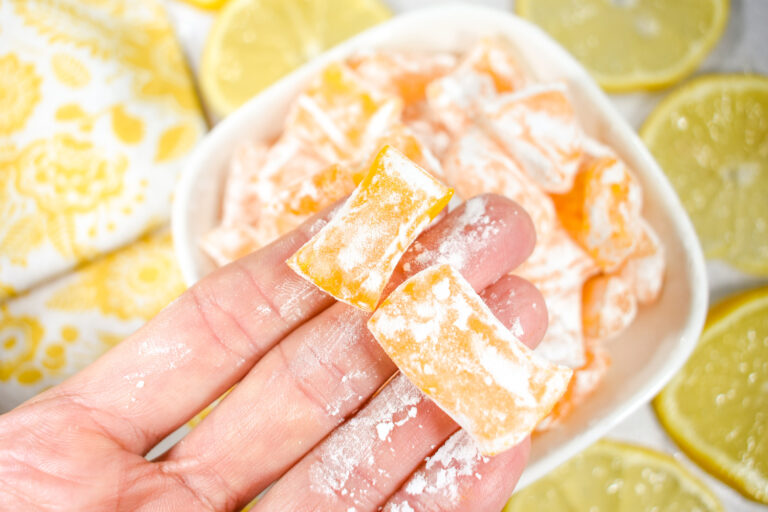
These lemon drop candies ship well and stay fresh for a long time. They’re ideal for mailing in care packages, especially in the warm summer months, and can be made several weeks in advance. I think these would look especially cute packaged in a cello bag, tied with a big yellow bow. There are some fun yellow print cello bags on Amazon—I’ve even found some with citrus prints! Or, package in a small cello bag and place in a fun lemon-print mug, then add a packet of tea, a honey stick, and a white-and-yellow ribbon bow!
More Candy Recipes You Might Enjoy
Watermelon Lollipops
Cranberry Gummy Candies
Strawberry Marshmallows
Simple Candied Orange Peels
Root Beer Hard Candy
Caramel Apple Lollipops
And if you do make these, or any of my recipes, don’t forget to to tag me @bastecutfold or use the hashtag #bastecutfold on Instagram. I always love to see what you’re making!


If I wanted to try 2-3 levels of sourness without devoting a whole batch to each kind in case I don’t like it, could I mix in 1tsp, pour some out on one silicone mat, add a little more and pour that on another mat (and potentially do that again)? I’m assuming I’d need a different mat for each version? I know not to add an entire tsp each time (besides the first) since there’ll be less sugar, and it obv won’t be exact. But would something like that be possible? I’ve never made hard candy before, so I wasn’t sure if it would cool off too much in between or what.
Not only do I LOVE sour candy, I actually need it to help one of my chronic illnesses (I keep having issues with my salivary glands, so it’s recommended to suck on sour candies to help produce more saliva). I can’t have lemonheads bc of the gluten, and sour patch kids lose their sourness too quickly (since it’s just the coating), so I thought I’d try making my own.
You’ll need to add the citric acid while the sugar is still liquid, so the acid can dissolve and distribute evenly throughout the sugar mass. Working with hot sugar also means working very quickly, so there isn’t a good way to hold the rest of the mixture until you’re ready to use it, without it either cooling and solidifying, or over-cooking and turning into caramel!
To test different levels of sourness, I would suggest making 1/2 or 1/3 batches. Once you figure out the flavor level you like, you can scale up the measurements to make a full batch.
I liked your recipe but I wish you had warned me about too much citric acid. my second batch is taffy
wonderfull! I will skip the colorant because I am very alergic to them, thank you for the recipe
I’m looking for a more natural lemon flavor, would it work if I used lemon juice instead of water and the lemon oil?
Hi Lisa! I’ve never tested these with lemon juice. My guess is that the flavor will not be strong enough, and/or that the candy might taste bitter from cooking it to a high heat, similar to the way that reducing citrus juice will make it turn bitter. I know there are some lemon flavor concentrates available for purchase—it’s possible something like that might work, but again, I haven’t tested these so I can’t recommend them personally.
If you do experiment, please let me know how it goes!
I made mine grain free as in no citric acid and it turned out pretty good, but I found this first time I preferred to roll them in small balls and then throw them into the powdered sugar and then put those into a sieve and got most of that all off so it just kept them from sticking together. Do you know of how to get a more tangy result on the outside that will be grain free? Citric acid is made from corn and I cannot have corn gluten.
For a tangy outside without citric acid, I wonder if something like freeze-dried powdered lemon might work? Or, if you can find a powdered lemonade mix or lemon drink mix without corn gluten, you could try tossing the candies in the powder. I haven’t personally tried either of these, but it could be worth experimenting.
If you do test any of these ideas, definitely report back and let me know how it goes!
Will it harden up? I think with the lemon oil brand I have I need more lemon flavor. I couldn’t wait and it was soft.
Hi Larrah. Soft hard candy unfortunately means you didn’t cook the sugar to a high enough temperature. If you haven’t calibrated your thermometer recently, I definitely suggest doing so by testing it in a mug of boiling water. You might also try using two thermometers (I usually do this with candymaking or other recipes where the temperature must be perfect!) Also, if your thermometer is manual-read, I’d recommend investing in a digital one, since they’re more precise.
For flavoring, double check that you are using pure lemon oil, not extract or flavoring. But yes, you can definitely adjust the oil to taste—that’s really just down to personal preference.
Don’t be discouraged if you haven’t worked with pulled sugar before. There is definitely a learning curve! I suggest cooking a batch of sugar without flavoring or coloring to practice the temperatures and pulling technique, and then give it another go.
This looks so good! What a fun recipe to make with kids!