 becky
becky
This post may contain affiliate links. Please read the disclosure policy to learn more.
Thank you for supporting this blog!
I’d planned to post these rainbow heart cookies much earlier in the month so the recipe would be available in time for Pride celebrations, but between graduate school deadlines and other life commitments, the time just got away from me. But the way I see it, it’s always a good time to celebrate love. And besides, who doesn’t love a rainbow cookie, any day of the year?

I always love being in New York during Pride Month — it’s such a fun, vibrant, and uplifting time to be in the city. And the celebrations always overlap with Broadway Bares, a charity event benefiting Broadway Cares to which I’ve donated my time to for more than a decade, designing costumes for hundreds of scantily clad dancers from Broadway and beyond.
Now that I’m living in London, I definitely missed my Bares family this year, especially as the past few celebrations were scaled back or cancelled due to the pandemic. But at least London has its own Pride celebrations coming up this weekend!
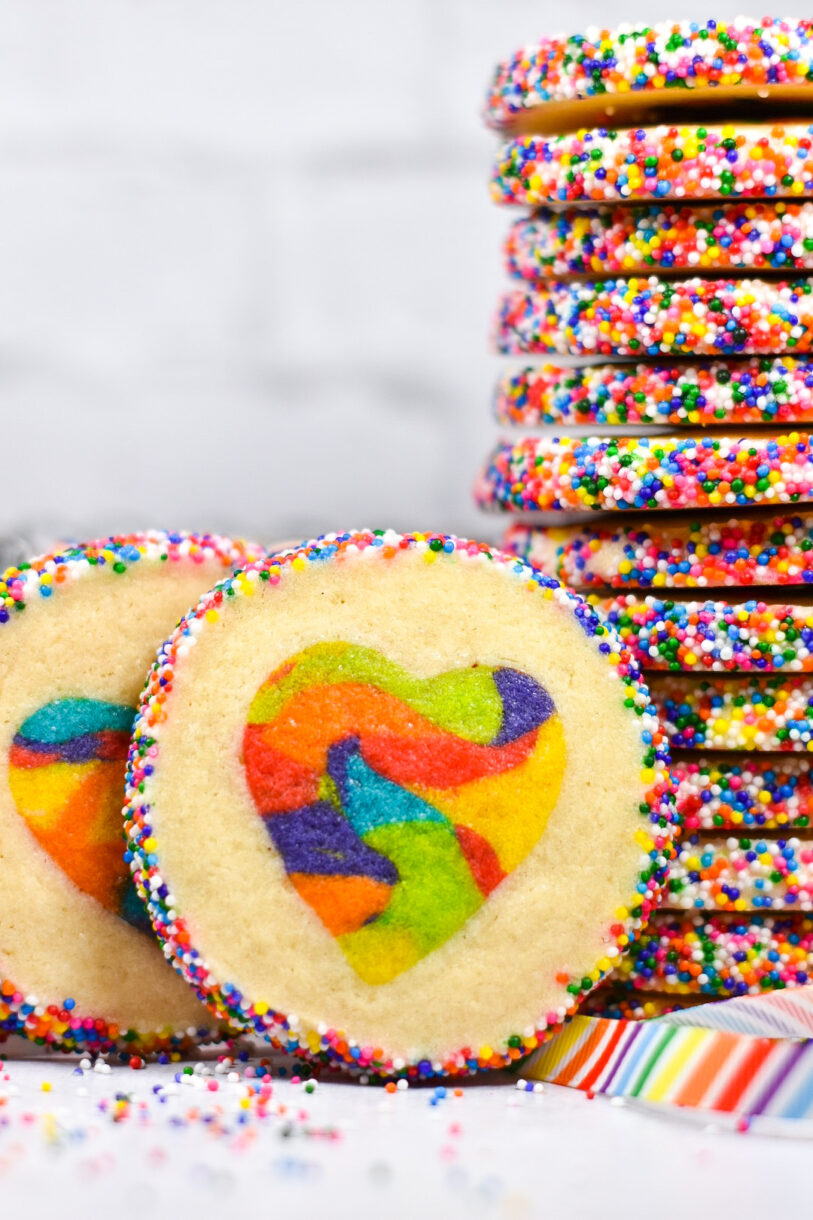
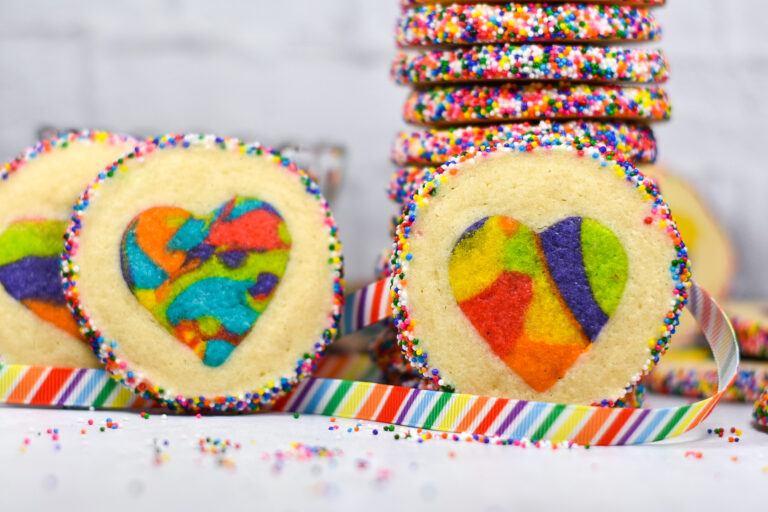
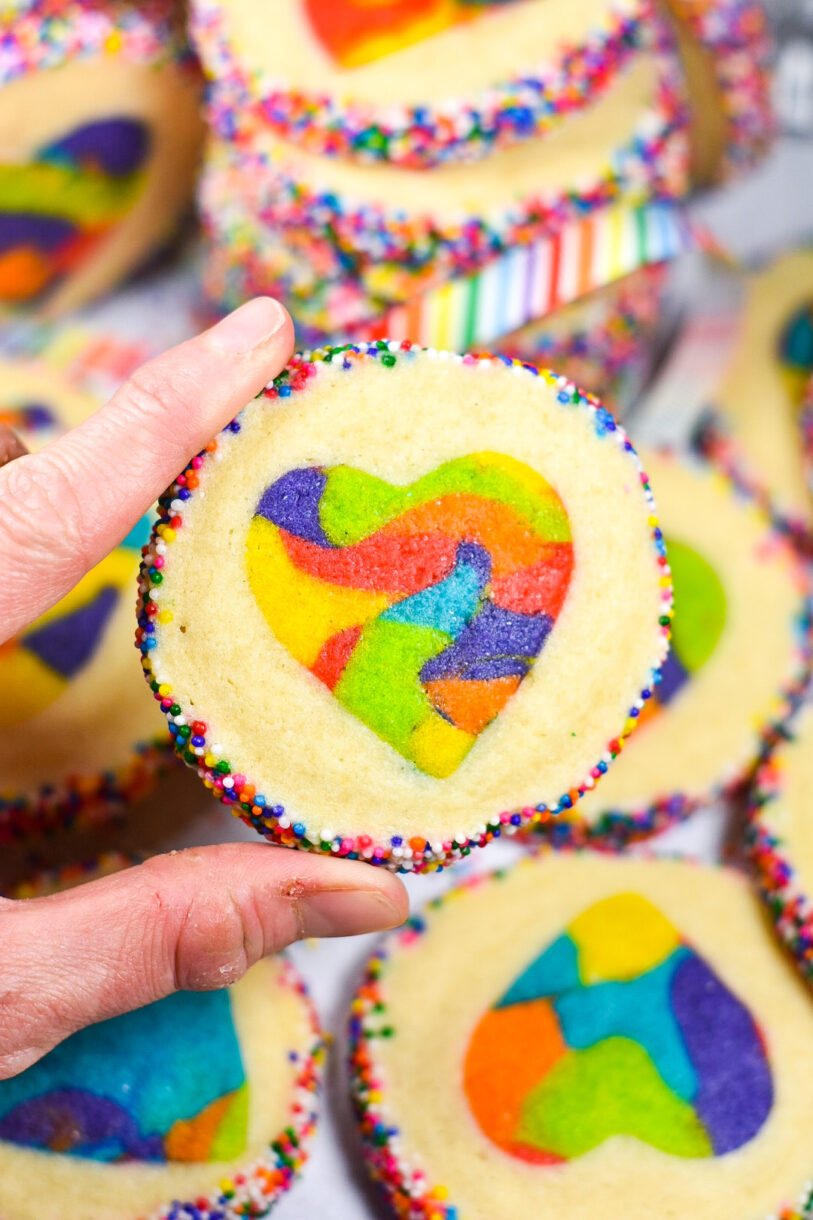
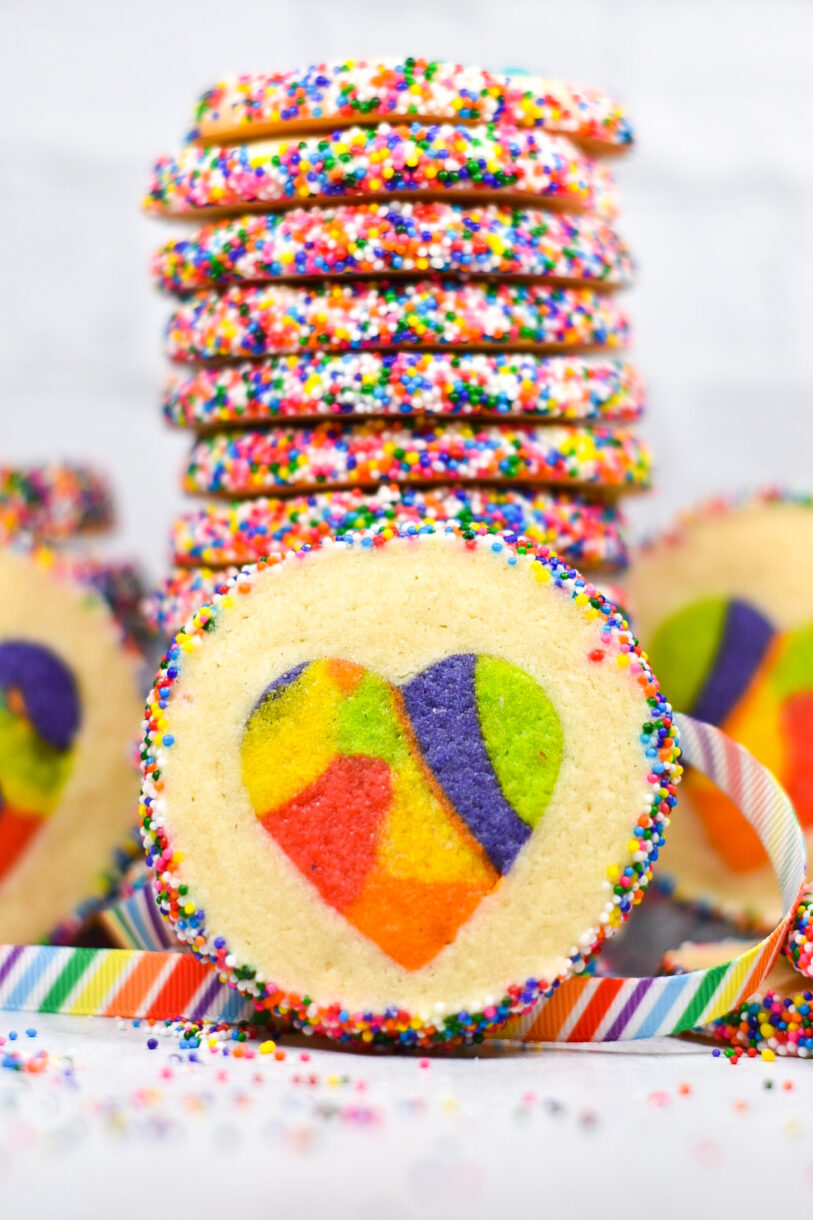
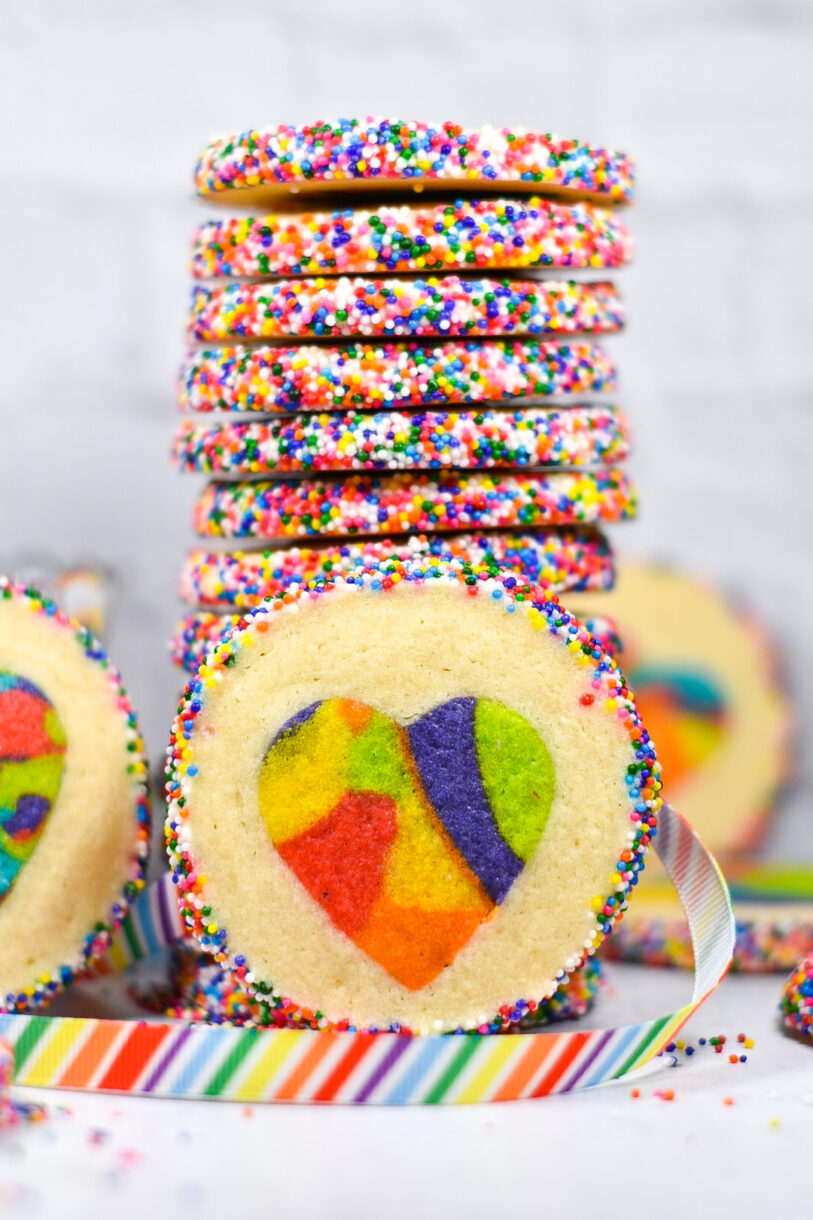
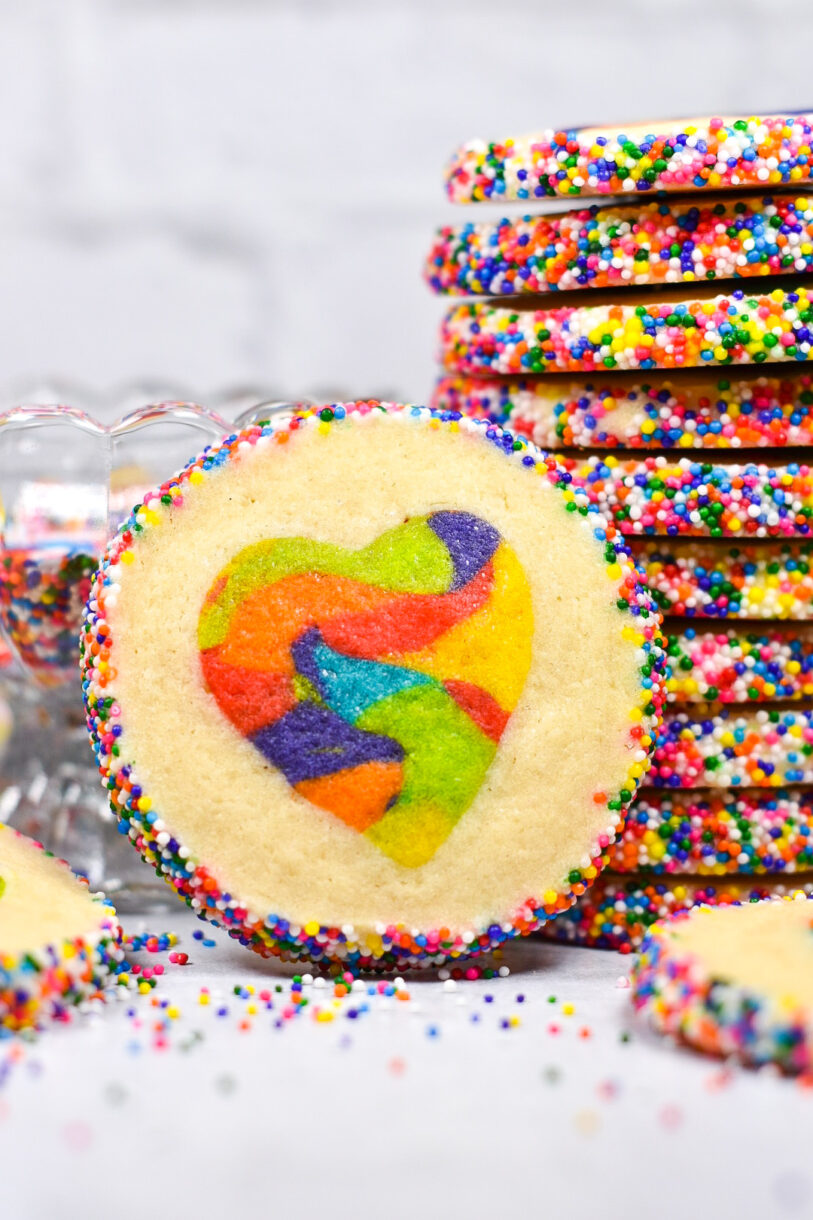
Rainbows Heart Cookies for Pride
These slice and bake rainbow heart cookies are actually much less complicated than they appear. The real trick is to constantly keep chilling the dough, especially once you’ve cut out your hearts and formed them into a stack. The colder the dough, the prettier the final product will be.
I chose to make rainbow hearts for Pride month, but you can use this same technique with any cutter and any color(s) of dough. The possibilities are endless. (Green shamrocks for Saint Patrick’s Day, pumpkins for Halloween, Santa hats for Christmas, you name it.)
Rainbow Heart Cookie Tips and Tricks
Though tempting, do not skip any of the chilling steps in this recipe! In fact, if at any point your dough starts to become too soft, return it to the fridge or freezer to chill for a few minutes. Keeping the dough firm is the key to helping the hearts retain their shape.
Use a very sharp knife when slicing your cookie log. A dull knife will produce ragged-looking cookies or cause the hearts to become misshapen.
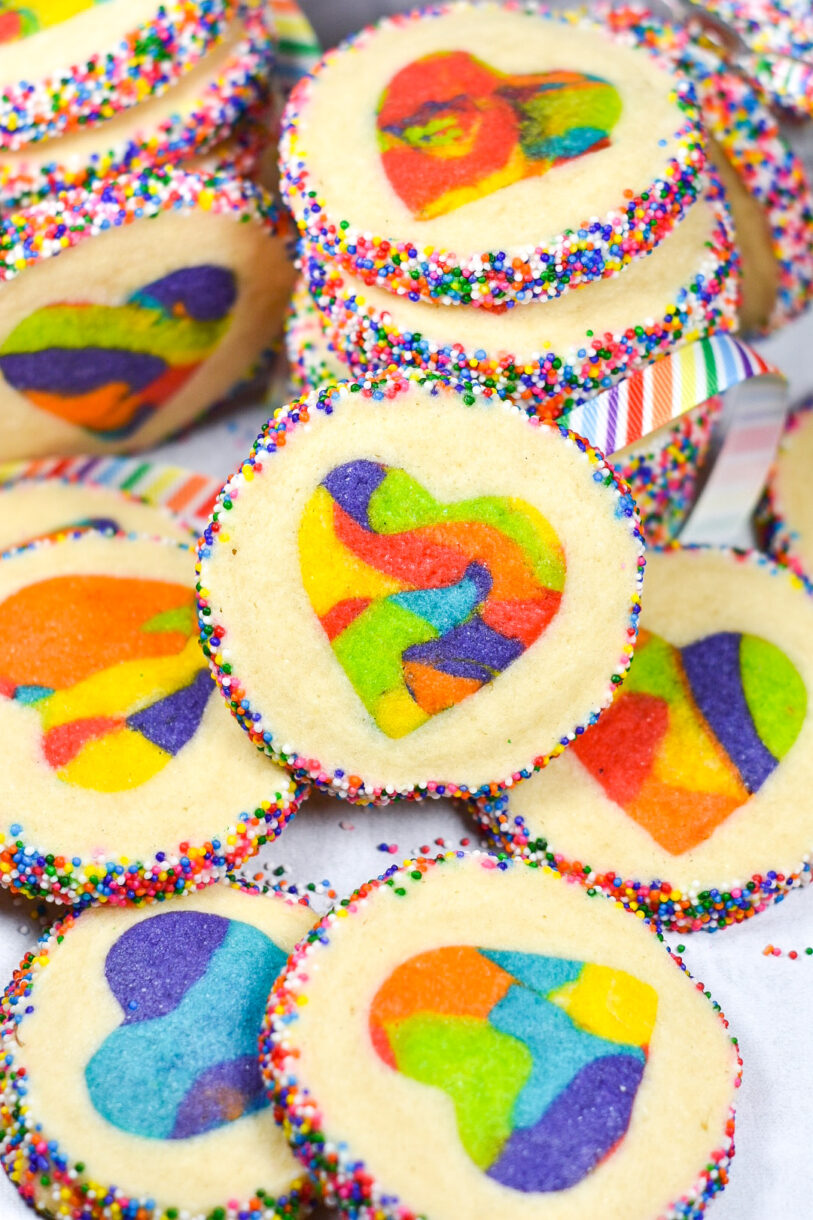
Be sure to use gel food coloring for this recipe, not water-based colors. My go-to is Chefmaster, but any brand of gel coloring will work.
When rolling the cookie dough log in sprinkles, you might find it helpful to lightly spritz the log with water or cooking spray to help the rainbow sprinkles stick to the dough.
You can choose any size heart cutter you’d like. Just remember that the bigger the cutter, the bigger your cookies will be (for reference, mine were around 3 1/2 inches in diameter), so you’ll end up with a smaller recipe yield. On the flip side, a tiny cutter will have less definition and your hearts might end up looking more like circles or blobs. So, somewhere in the middle is best.
Make-Ahead and Storage Suggestions
To work ahead, you can prepare the dough log, wrap in clingfilm/plastic wrap, and refrigerate for a few hours, or overnight. I suggest popping the chilled log into the freezer for 30 minutes prior to slicing, to ensure a clean cut.
Store rainbow heart cookies in an airtight container at room temperature for up to five days.
These rainbow heart cookies also freeze very well, so they’re perfect for making ahead of time. To freeze, layer between sheets of parchment and freeze in an airtight container, then thaw at room temperature when ready to serve.
Other rainbow recipes you might enjoy:
Funfetti Slice and Bake Shortbread
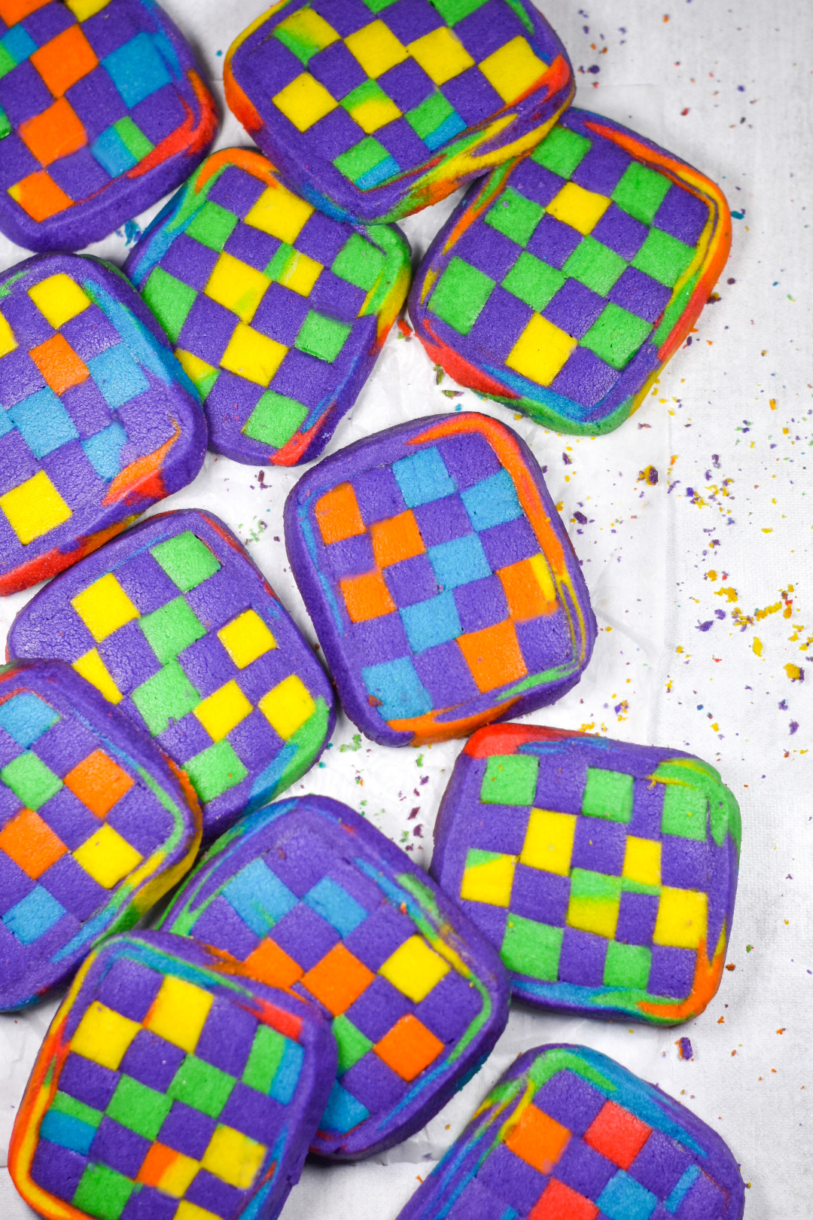
Rainbow Checkerboard Cookies
Rainbow Donkey Piñata Cookies
And if you do make these, or any of my recipes, don’t forget to tag me @bastecutfold or use the hashtag #bastecutfold on Instagram. I always love to see what you’re making!
Print
Slice and Bake Rainbow Heart Cookies
- Total Time: 0 hours
- Yield: 24 cookies 1x
Description
Slice and bake rainbow heart cookies. A classic ‘slice and bake’ sugar cookie, with a fun rainbow heart suprise in the middle!
Ingredients
420 grams flour (3 1/4 cups)
3/4 teaspoon baking powder
1/2 teaspoon salt
225 grams unsalted butter, softened (2 sticks)
225 grams granulated sugar (2 1/8 cups)
2 eggs
1 teaspoon vanilla bean paste
Gel food coloring (red, orange, yellow, green, blue, purple)
Rainbow sprinkles or nonpareils
Instructions
In a large mixing bowl, whisk flour, baking powder, and salt.
In a separate bowl or the bowl of a stand mixer, add butter and granulated sugar and mix on high speed until light and fluffy. Beat in the eggs, followed by the vanilla bean paste.
Add the dry ingredients and mix until just combined.
Divide the dough into three equal portions. Wrap two of the portions in clingfilm/plastic wrap and transfer to the refrigerator to chill.
Now, divide the third portion into six smaller balls of dough. Add a few drops of a different gel food coloring to each, creating red, orange, yellow, green, blue, and purple doughs.
Use a sharp chef’s knife to chop all of the colored doughs into small pieces. If desired, you can also use your hands to break the dough apart. You can make the pieces as large or as small as you’d like, and it’s perfectly fine if they’re all a little bit different!
On a tray lined with baking parchment, combine the rainbow dough pieces to create a mosaic pattern. Use your fingers to gently push the pieces together, making sure there are no gaps. Top with a second sheet of baking parchment, and use a rolling pin to roll the rainbow dough to 1/4-inch (6 millimeters) thickness. Transfer tray to the refrigerator to chill for at least one hour.
Once chilled, use a heart-shaped cutter to cut the rainbow dough into hearts. Stack the hearts on top of one another, then place the stack in the freezer to chill for at least 15 minutes, or until firm.* At the same time, remove the reserved white dough from the refrigerator and allow it to soften slightly.
Remove the heart stack from the refrigerator. Wedge bits of white dough into the crevasses of the heart shape, then wrap the remaining dough around the stack to form a log. Roll log in rainbow sprinkles or nonpareils.**
Wrap the log in clingfilm/plastic wrap and freeze until firm, at least one hour. Remove from freezer and slice into 1/4-inch (6 millimeter) cookies.
Transfer slices to a baking sheet lined with parchment or a silicone baking mat. Return tray to the freezer and freeze for 15 minutes (this will prevent the cookies from spreading in the oven). While cookies freeze, preheat oven to 300° F / 148° C.
Bake for 10-12 minutes, or until just lightly brown. Allow cookies to cool slightly on the baking tray, then transfer to a wire rack to cool completely.
Store cookies in an airtight container at room temperature for up to five days.


Notes
*If at any point the rainbow dough starts to become too soft, return it to the fridge or freezer to chill for a few minutes. Keeping the dough firm is the key to helping the hearts retain their shape.
**If necessary, you can lightly spritz the log with cooking spray to help the sprinkles stick to the dough.
- Prep Time: 30 minutes (+ chilling time)
- Cook Time: 10-12 minutes
- Category: Biscuits and Cookies
- Method: Oven
- Cuisine: Dessert

I enjoyed making these. Would definitely make again. I used a star center vs heart. Thanks for sharing. Wish I could share a pic.
So glad you enjoyed making these! If you have Instagram, feel free to post a photo and tag me @bastecutfold — I’d love to see how they turned out!