becky
becky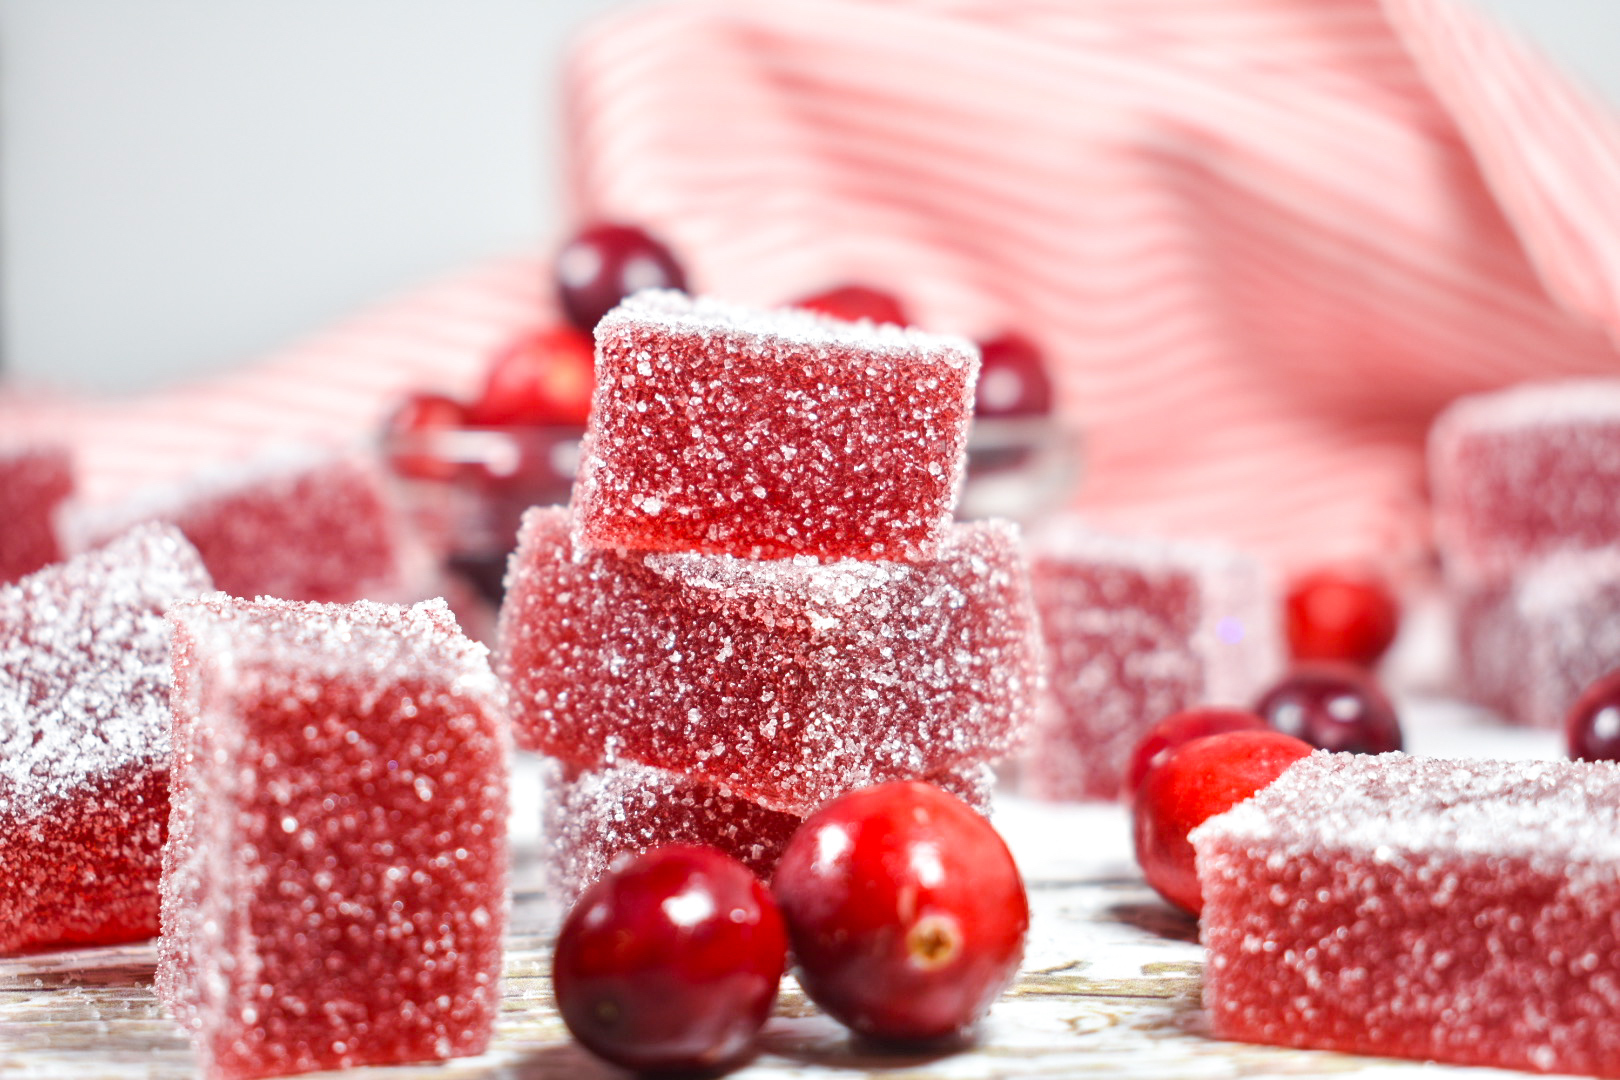
This post may contain affiliate links. Please read the disclosure policy to learn more.
Thank you for supporting this blog!
Original post published December 14th, 2020. Post last updated on December 10th, 2023.
When it comes to sweet things, I’m generally not the biggest fan of “sugary” candies. If given the choice, I’ll always pick chocolate, toffee, or caramel, over gummy bears or Skittles or Starburst.
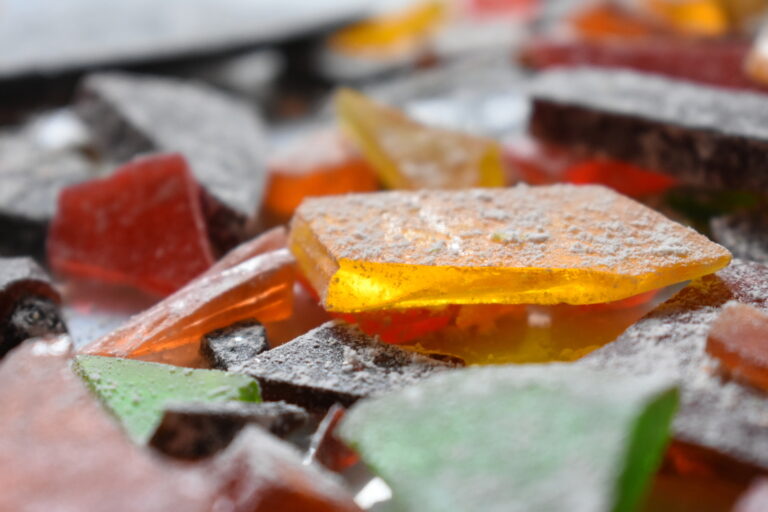
Strange, then, that one of my favorite confections is the sugary, fruit-based pâte de fruits. I first learned to make these classic French candies a few years ago, while studying for my chocolatier’s certification, and I’ve been addicted ever since! At Le Cordon Bleu we made a mango-coconut version, which has quickly become a staple in my candy repertoire. If I see a pâte de fruits in a confectionery or chocolate shop, I’ll always buy one to try.
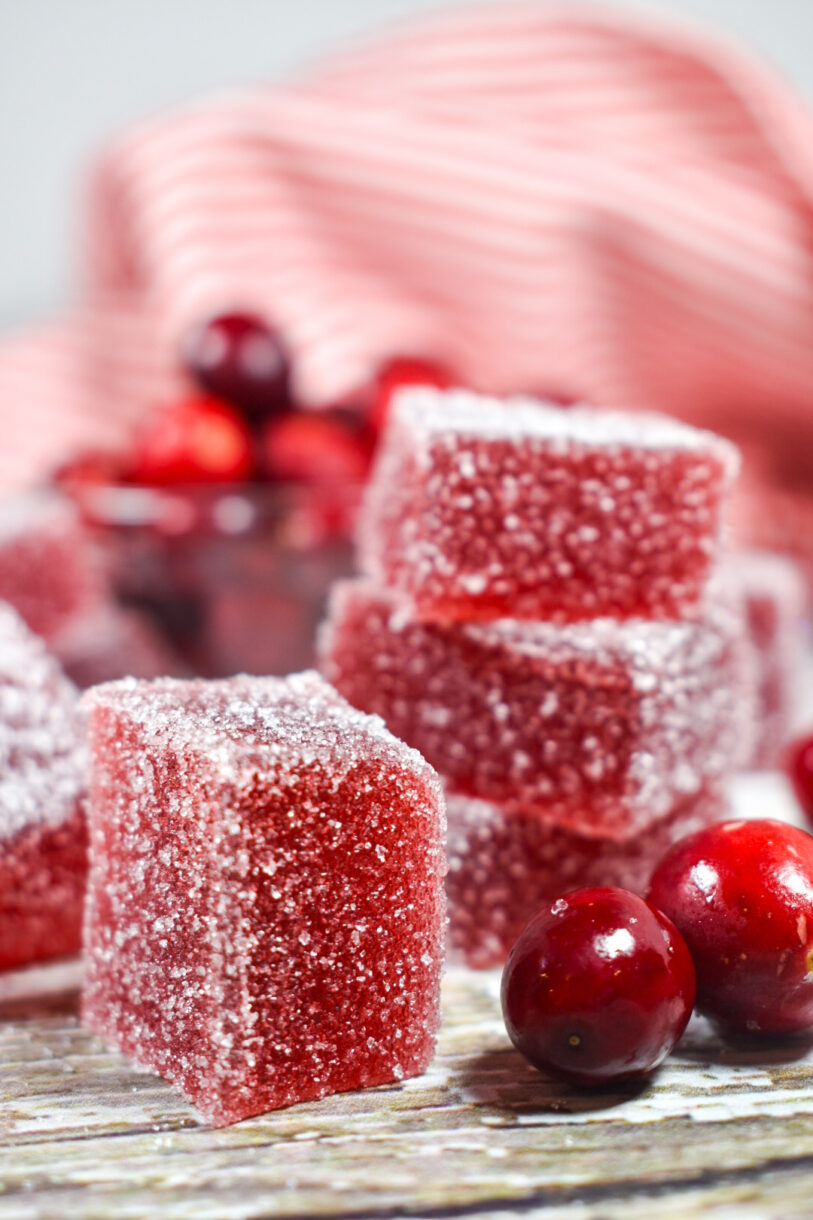
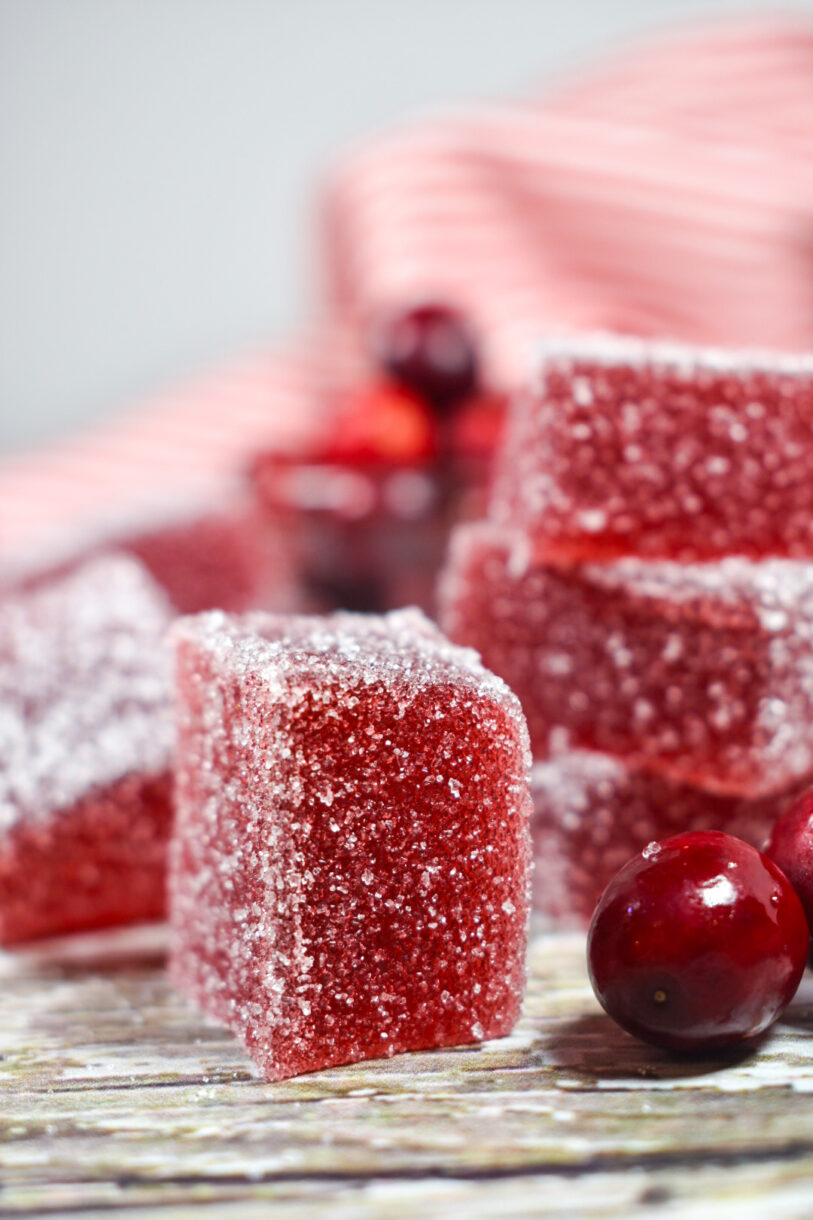
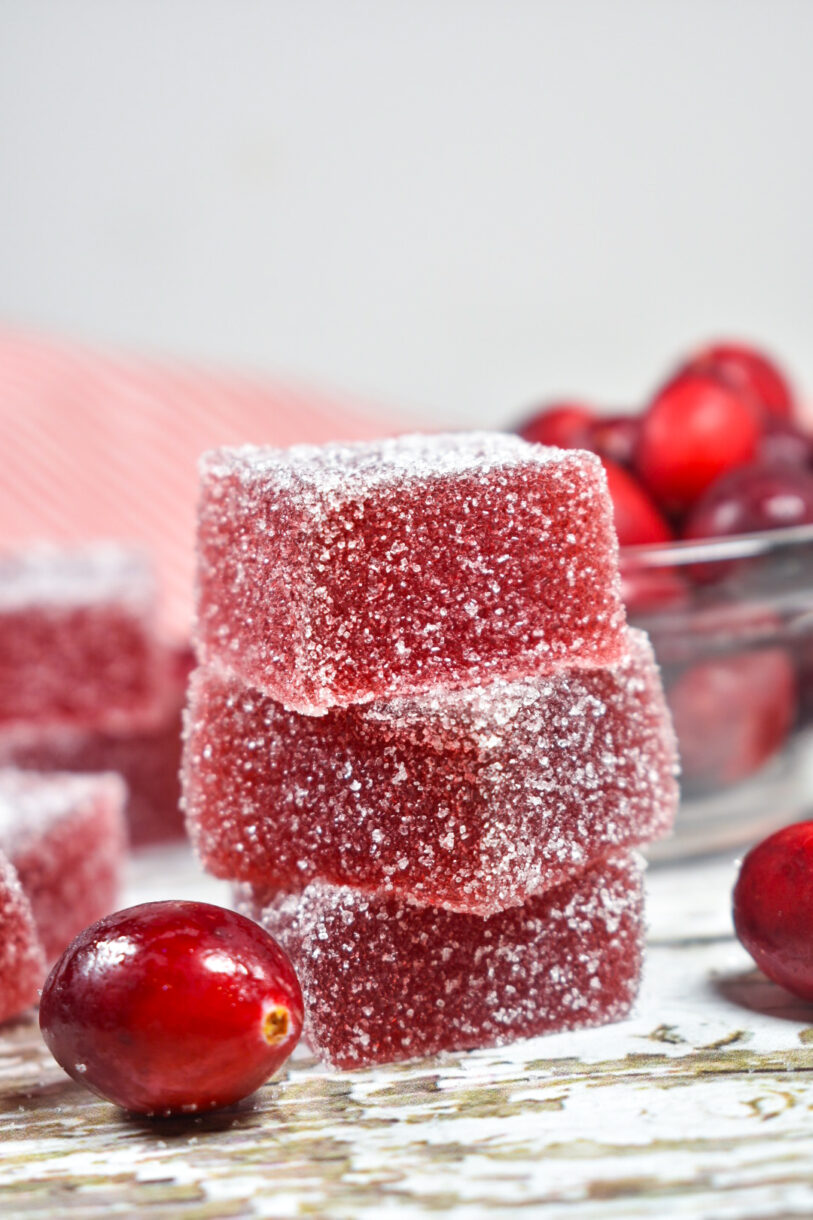
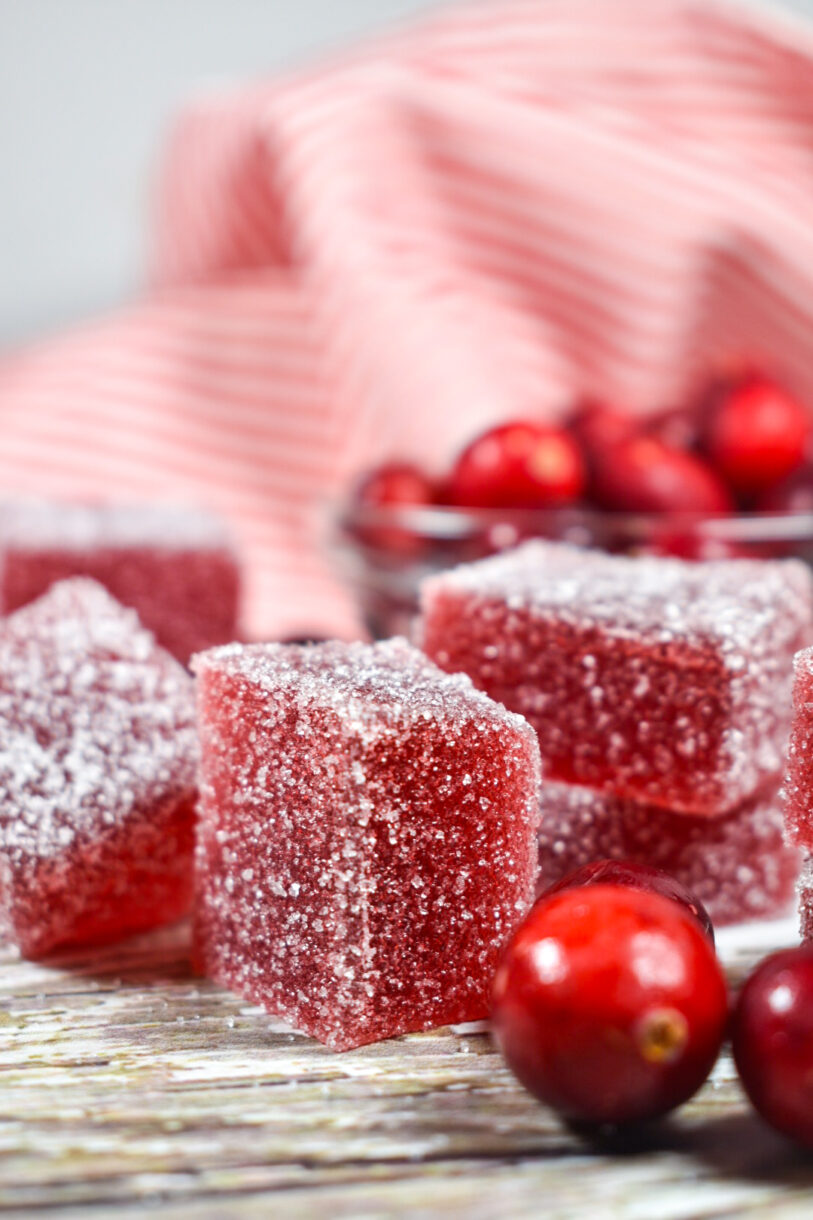
These festive cranberry jelly candies aren’t strictly traditional (pâte de fruits recipes generally call for pectin as the thickening agent and are made with a fresh fruit purée; these use powdered gelatine and cranberry juice instead) but they are equally delicious.
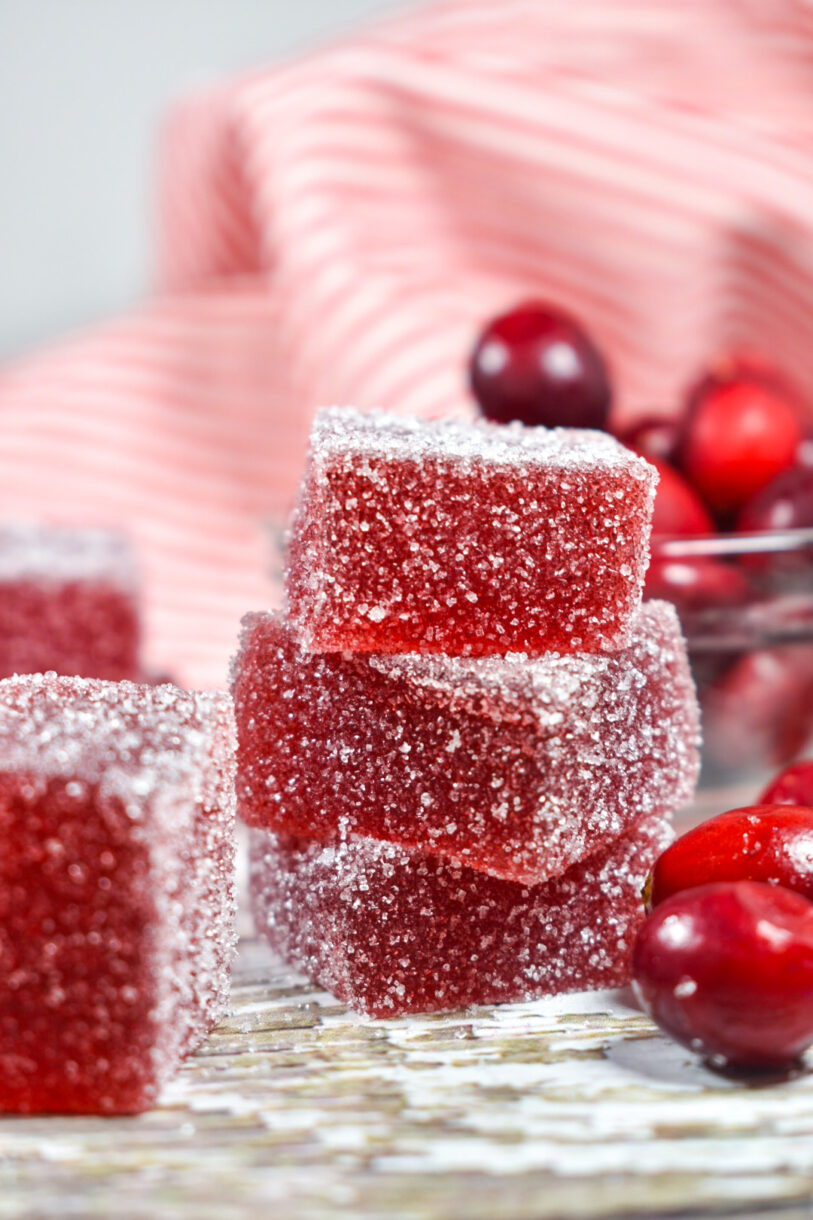
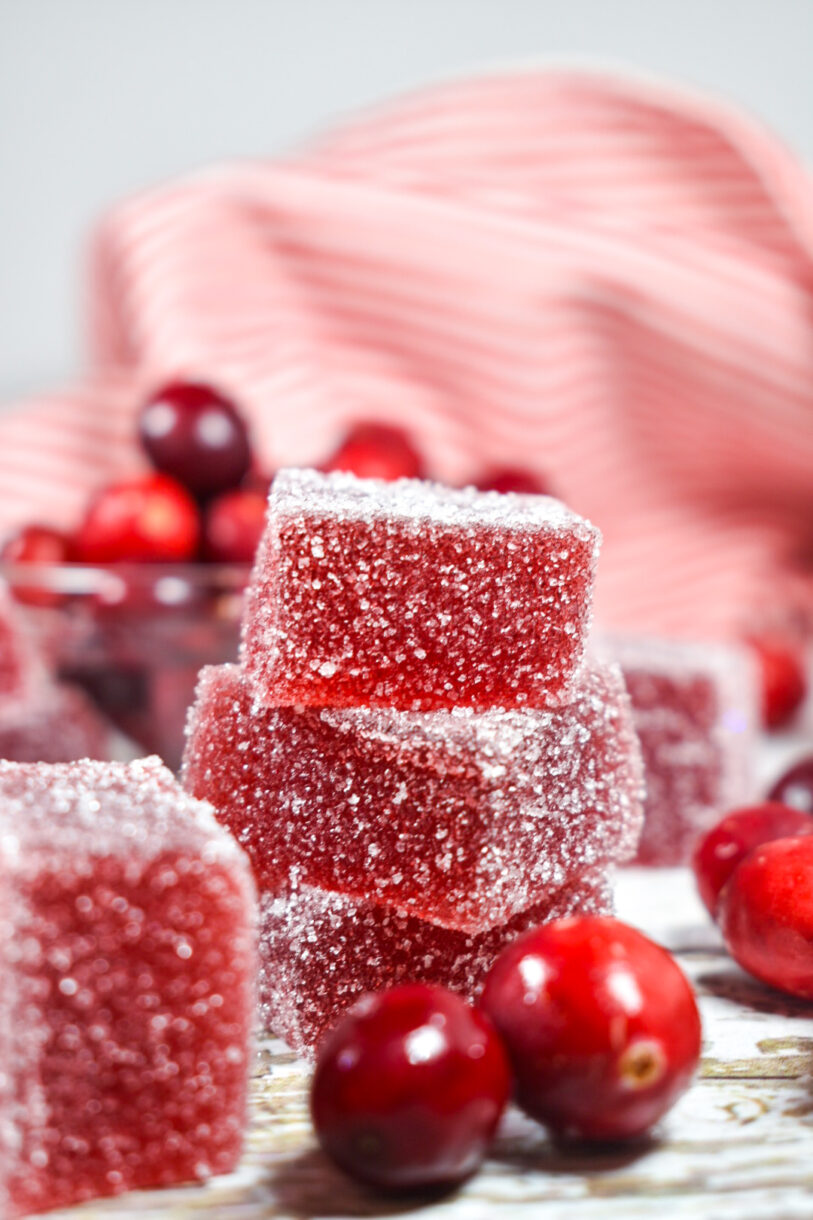
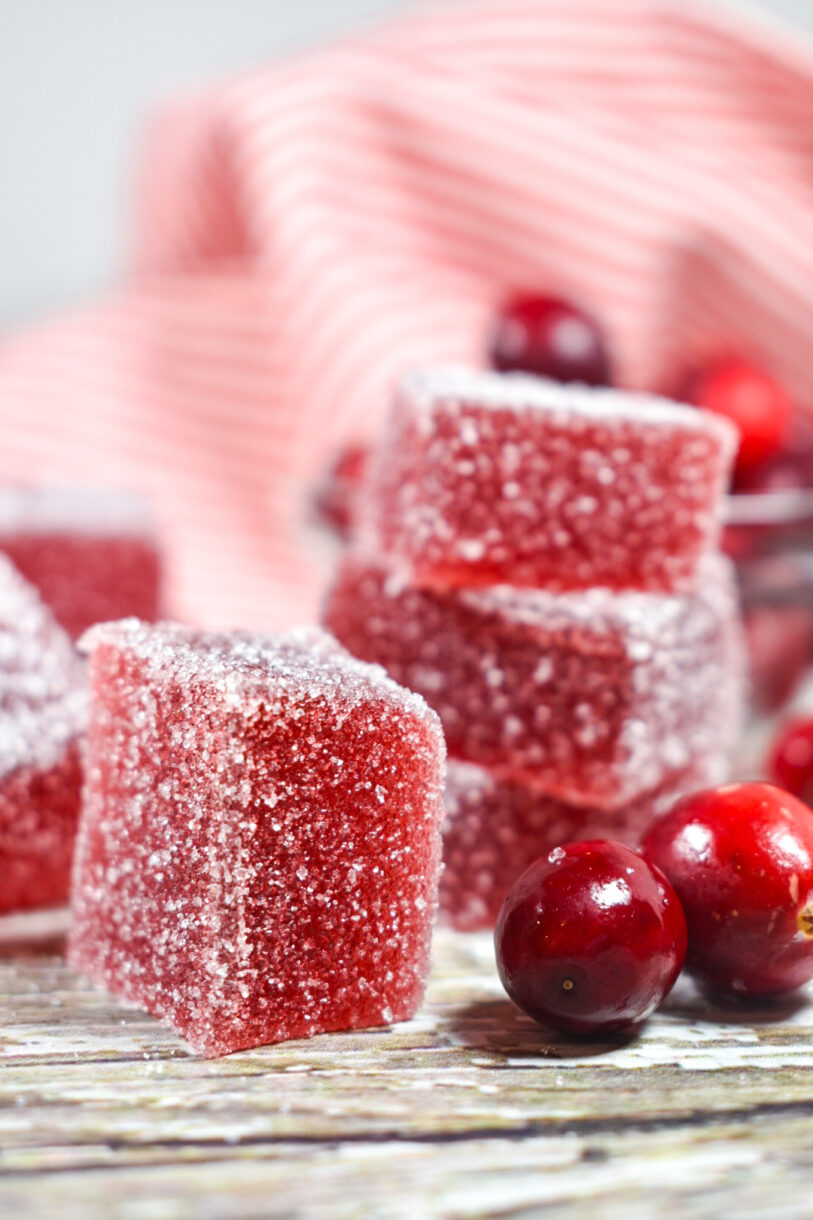
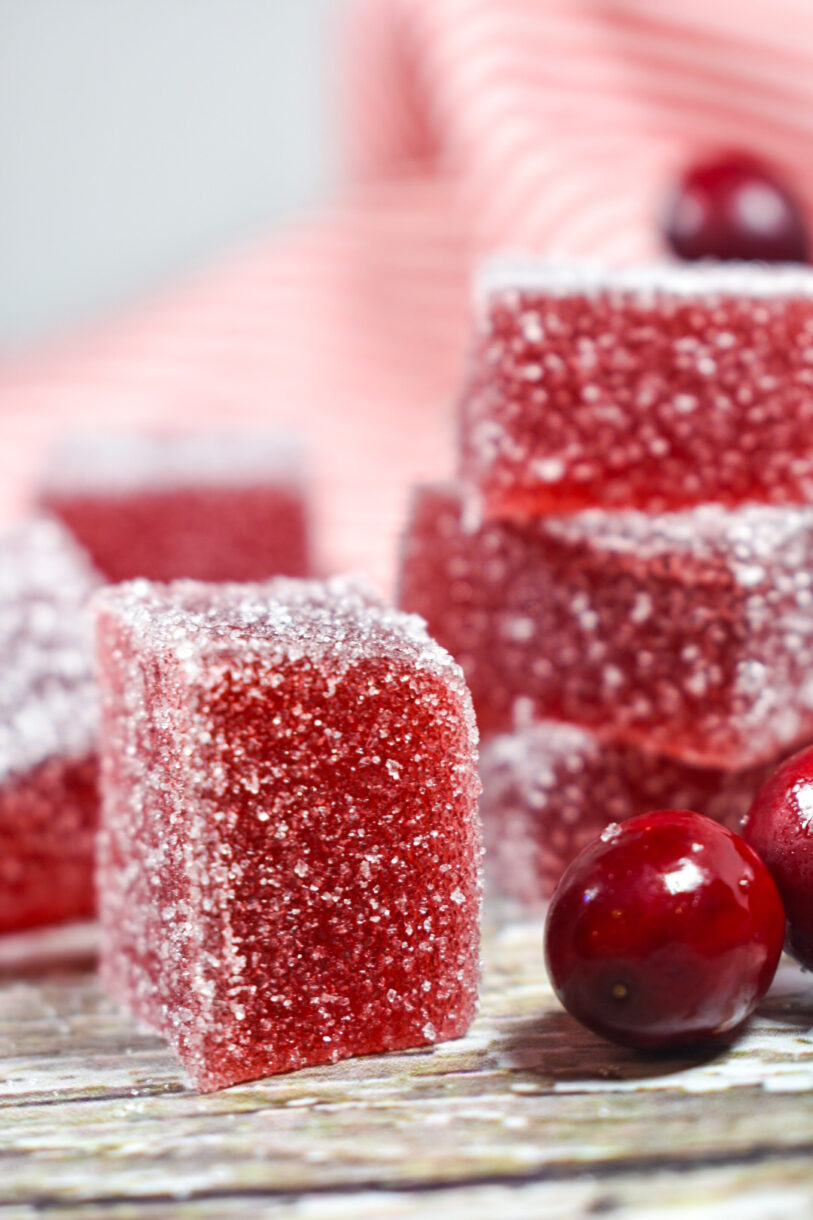
Cranberry jelly candies are ideal for holiday gifting. They’re deceptively easy to make and require just a handful of ingredients (cranberry juice, gelatine, and a whole lot of sugar!) They ship well and last for several weeks at room temperature.
Vibrant Cranberry Color
Thanks to lots and lots of cranberry juice, these cranberry jelly candies are the perfect (natural) shade of Christmas red! They’ll add a lovely ‘pop’ of color to candy trays or holiday gift baskets.
Cranberry Candy Tips and Tricks
You will need a digital thermometer for this recipe. You might also consider a thermometer that clamps to your pot (or hangs over the side) to free up your hands and avoid having to check the temperature constantly.
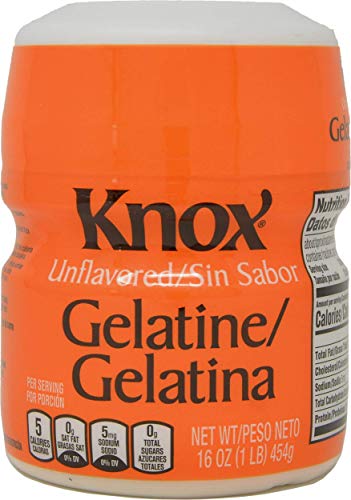
Although I generally prefer to work with leaf gelatine, I used powdered gelatine in this recipe. You could give conversion a shot if you’re feeling adventurous, although I have yet to personally try leaf gelatine in this recipe.
Choose pure cranberry juice for this recipe. Do not use cranberry juice cocktail, which contains added sugar.

Want to Keep Going?
You can make these jellies with other kinds of fruit juices, like apple or pear. You can also use water instead of juice, and use an extract or oil to flavor the candies (I’m partial to Lorann Oils myself) and a bit of gel food coloring in whichever shade you choose. For a similar recipe, check out my carrot-ginger gummy candy, too.
If you enjoy making this type of candy, I’d also recommend giving a traditional pâte de fruits a try! This website has some good pointers, along with recipes and flavor suggestions.
More candy recipes you might enjoy:
Carrot-Ginger Jelly Candies
Sea Salt Apple Cider Caramels
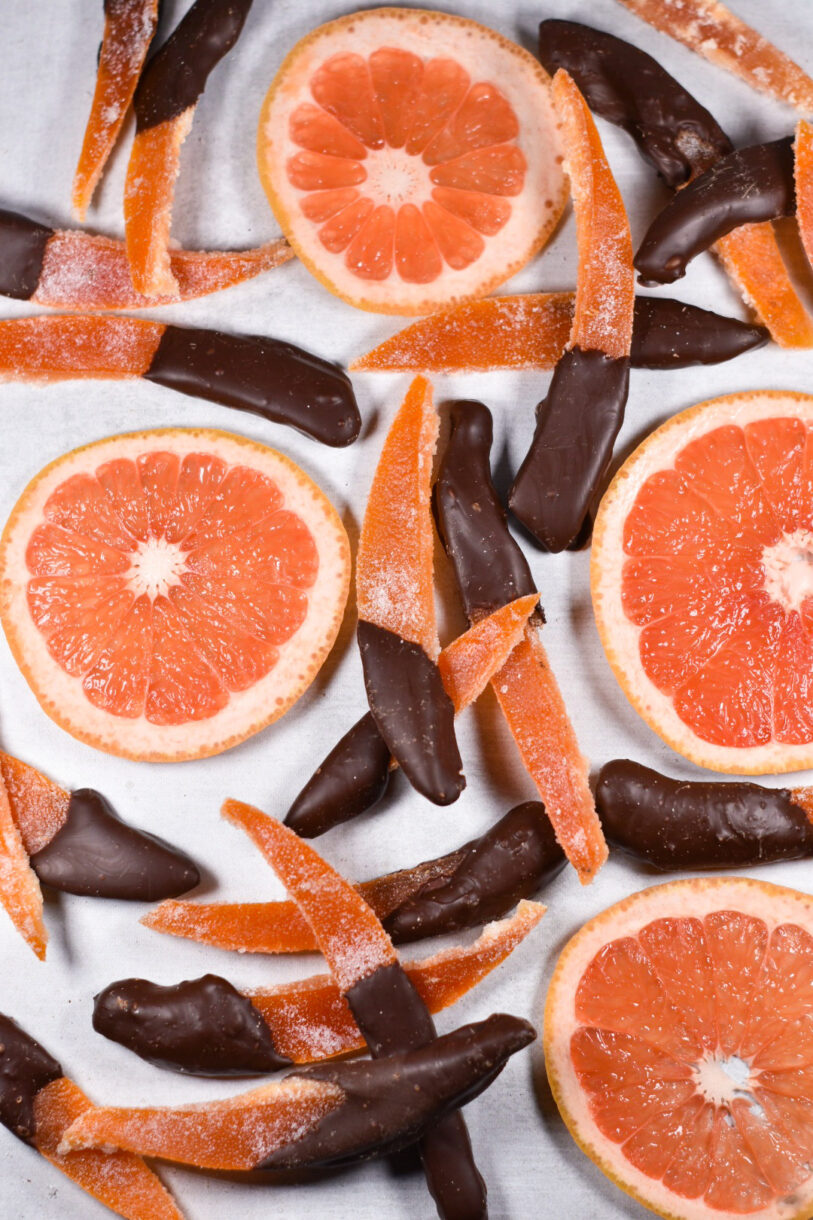
Dark Chocolate Candied Grapefruit
Strawberry Marshmallows
And if you make these, or any of my recipes, don’t forget to tag me @bastecutfold or use the hashtag #bastecutfold on Instagram. I always love to see what you’re making!
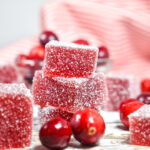
Festive Cranberry Jelly Candies
- Total Time: 5 hours (plus 1-2 days to crystallise)
- Yield: 50-60 candies 1x
Description
These cranberry jellies are ideal for holiday gifting. They’re easy to make, ship well, and are the perfect (natural) shade of Christmas red!
Ingredients
250 milliliters cold cranberry juice** (about 1 1/8 cups)
35 grams powdered gelatine (about 3 1/2 tablespoons)
650 grams granulated sugar (about 3 cups, plus more for coating candies)
190 milliliters boiling cranberry juice (about 3/4 cup)
Canola or vegetable oil (for greasing tin and knife)
Instructions
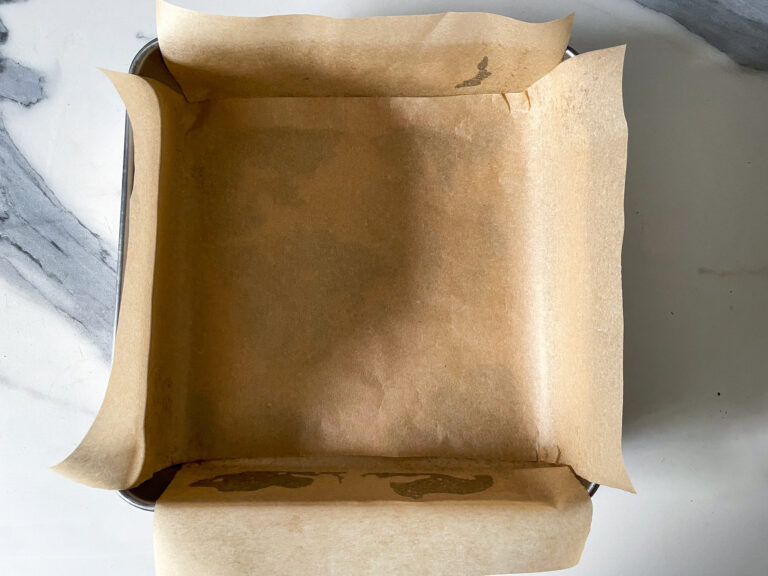
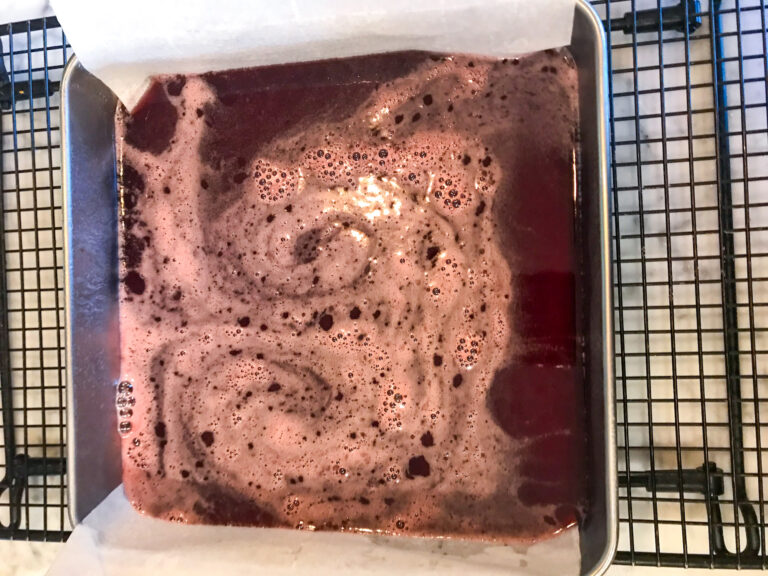
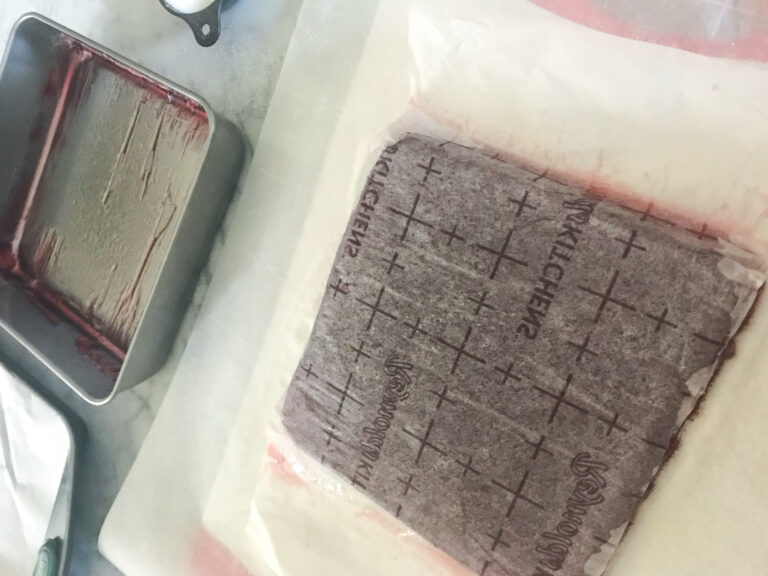
Line an 8×8-inch square tin with parchment and grease generously with canola oil. Set aside until ready to use.
Add 190 ml cold cranberry juice to a large saucepan; sprinkle gelatine over top to dissolve.
Add 240 ml boiling cranberry juice and sugar to the saucepan and whisk gently to combine.
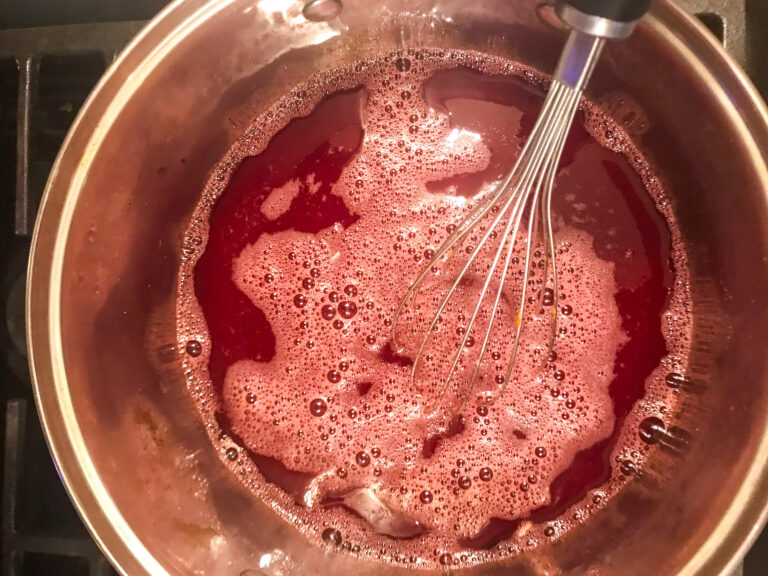
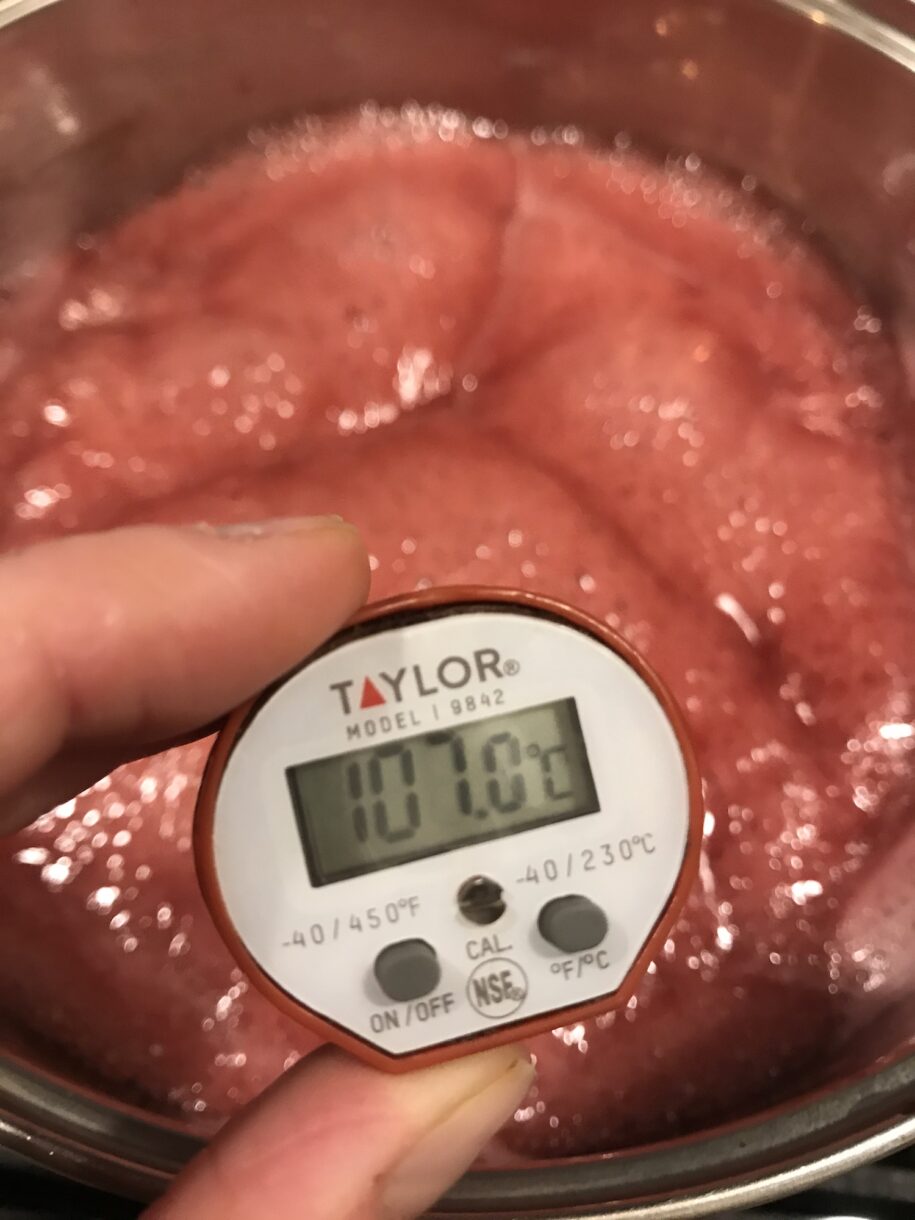
Bring mixture to a boil and simmer on medium heat, stirring occasionally, until it reaches 107° C / 225° F on a digital thermometer. This will take 20-25 minutes or longer, so be patient!
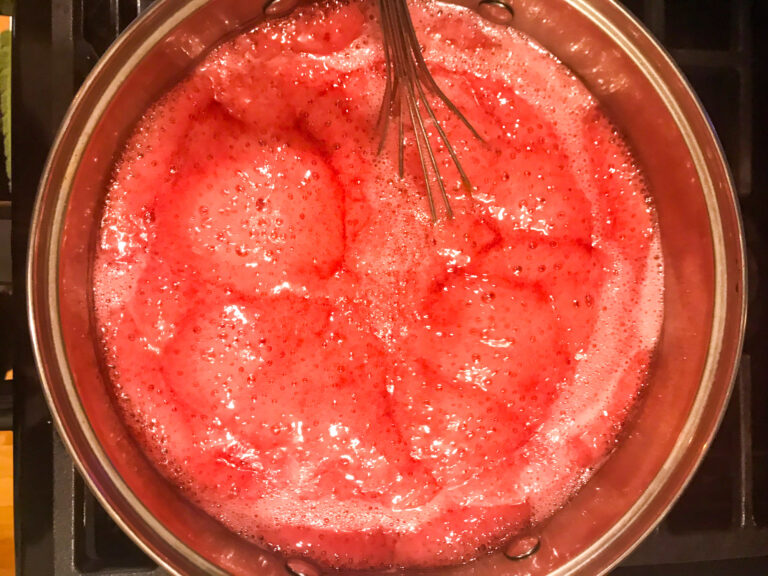
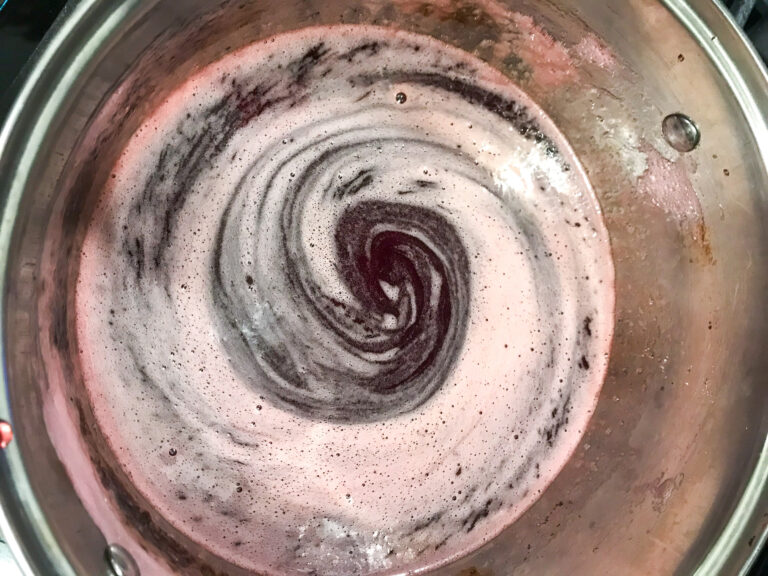
Remove mixture from heat and stir gently to remove bubbles.
Pour mixture into prepared pans and chill until firm (at least 4 hours, or overnight).
When mixture has set, peel away parchment and turn slab out onto a well-sugared sugared surface. I like to use a chopping board covered in parchment, with several generous scoops of sugar on top.
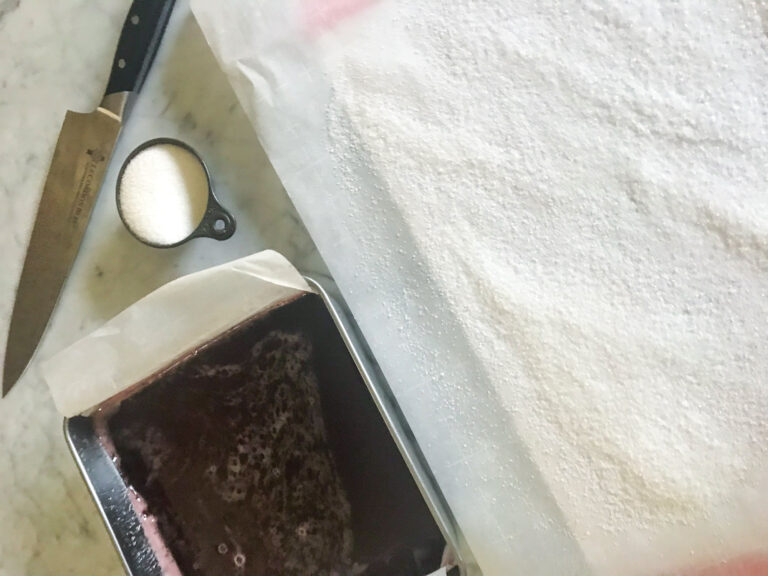
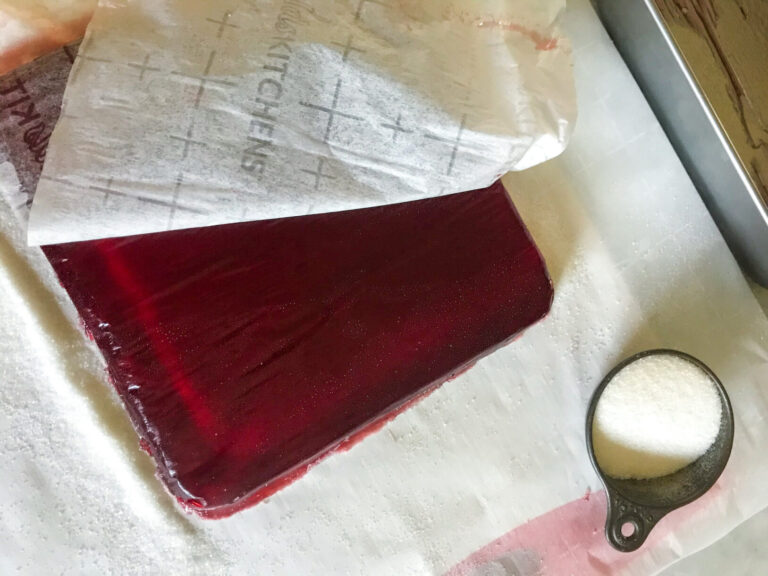
Coat slab in sugar until completely covered on both sides.
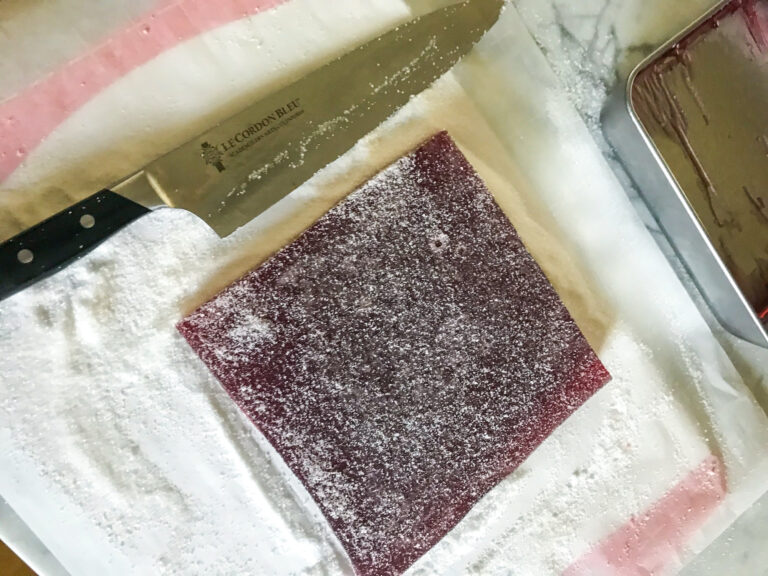
Cut slab into squares with a sharp, well-oiled knife. (I prefer to lightly mark the squares with the back of my knife prior to cutting, to make sure all of my candies are roughly the same size.) You can cut 7 x 7 rows (for 49 square candies) or 8 x 8 rows (for 64 square candies). If preferred, you can also use a metal cutter to cut the candies into fun shapes instead of squares.
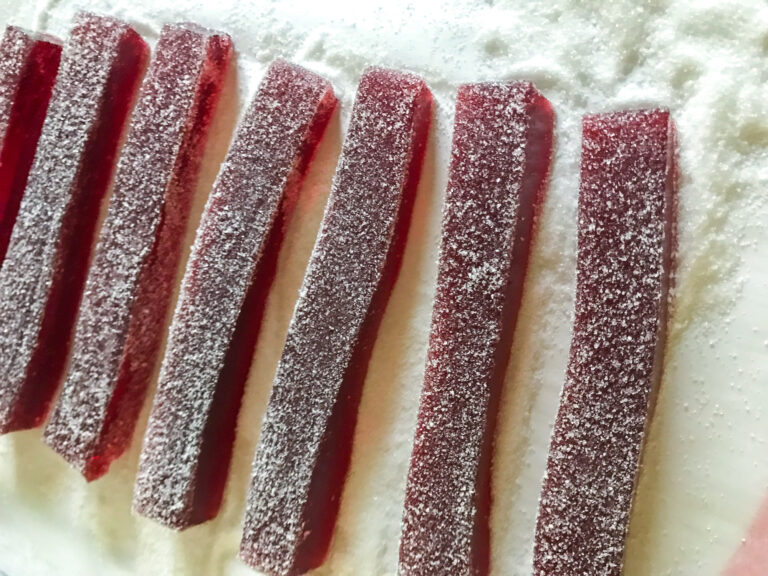
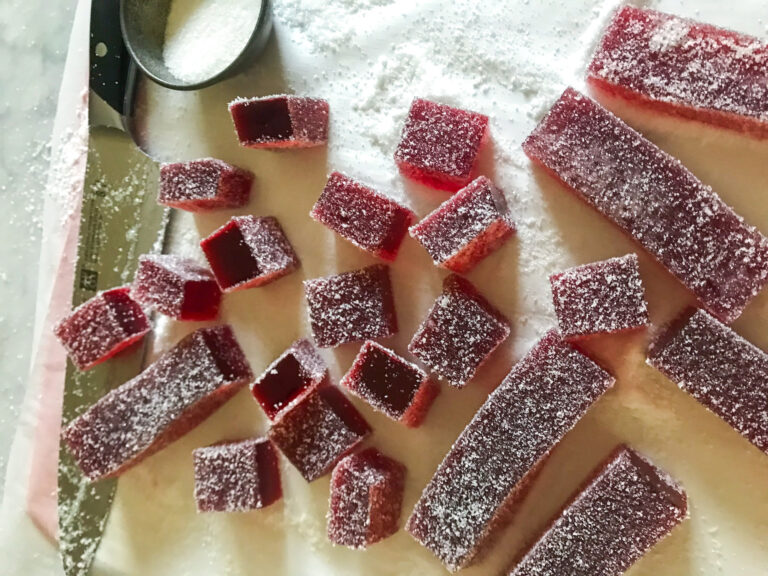
Roll each candy in sugar so all sides are covered. Transfer coated candies to a parchment-lined tray. Allow to sit at room temperature, uncovered, for 1-2 days to allow candy to crystallise and develop a crunchy coating.
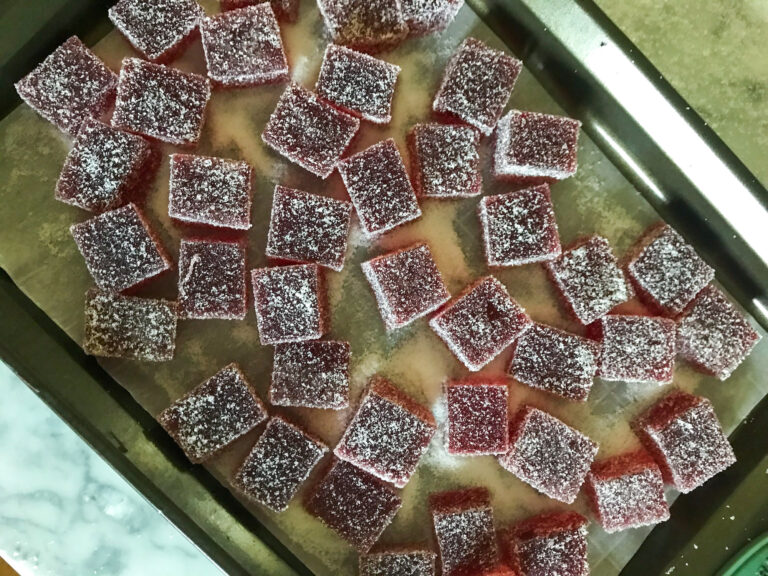
Transfer candies to an airtight container, layered between sheets of parchment. These will keep well at room temperature for several weeks.


Notes
**For best results, you’ll want to use 100% cranberry juice for this recipe, rather than “cranberry juice cocktail.” The added sugar in a cocktail or juice blend will make your finished candies too sweet.
You will need a candy thermometer for this recipe. You might also consider a thermometer that clamps to your pot (or hangs over the side) to free up your hands and avoid having to check the temperature constantly.
Although I generally prefer to work with leaf gelatine, I used powdered gelatine in this recipe. There are numerous charts online which provide formulas for converting leaf and powdered gelatine. You could give conversion a shot if you’re feeling adventurous, although I have yet to personally try leaf gelatine in this recipe.
Don’t forget to plan ahead! These candies need time to sit at room temperature for 1-2 days, in order to develop their crunchy coating.
- Prep Time: 10 minutes
- Cook Time: 30 minutes
- Category: Candy and Confectionery
- Method: Stovetop
- Cuisine: Sweets